Mit dem Pirate Audio Headphone Amp können Sie eine kompakte, tragbare Wiedergabeeinheit für lokale Audiodateien (MP3, FLAC usw.) oder zum Streamen von Musikdiensten wie Spotify erstellen. Um Ihnen den Einstieg zu erleichtern, hat Pimoroni Plugins für Mopidy entwickelt, mit denen Sie wunderschöne Albumcover anzeigen, Ihre Titel abspielen/pausieren und die Lautstärke anpassen können. Der DAC und der Kopfhörerverstärker liefern Ihnen kristallklaren, digital verstärkten Sound über Ihre verkabelten Kopfhörer.
Pirate Audio ist eine Reihe von All-in-One-Audio-Boards für Raspberry Pi mit hochwertigem digitalen Audio, einem gestochen scharfen IPS-Display für Albumcover, taktilen Tasten für die Wiedergabesteuerung und einer benutzerdefinierten Pirate Audio Software und Installationsprogramm, um die Einrichtung zum Kinderspiel zu machen.
Features
Verstärktes digitales Audio (24-Bit / 192 kHz) über I2S
PAM8908 Kopfhörerverstärker-Chip
Low-Gain / High-Gain-Schalter (High-Gain erhöht um 12 dB)
PCM5100A DAC-Chip
3,5-mm-Stereobuchse
1,3-Zoll-IPS-Farb-LCD (240x240px) (ST7789 Treiber)
Vier taktilen Tasten
Mini HAT-Formatplatine
Vollständig montiert
Kompatibel mit allen Raspberry Pi-Modellen mit 40-Pin-Header
Abmessungen: 65x30,5x9,5 mm
Software
Die Pirate Audio Software und das Installationsprogramm installieren die Python-Bibliothek für das LCD, konfigurieren den I2S-Audio- und SPI-Bus und installieren anschließend Mopidy und die benutzerdefinierten Pirate Audio-Plugins, um Albumcover und Titelinformationen anzuzeigen und die Tasten zur Wiedergabesteuerung zu verwenden.
So starten Sie:
Erstellen Sie eine SD-Karte mit der neuesten Version von Raspberry Pi OS.
Verbinden Sie sich mit Wi-Fi oder einem kabelgebundenen Netzwerk.
Öffnen Sie ein Terminal und geben Sie Folgendes ein:git clone https://github.com/pimoroni/pirate-audiocd pirate-audio/mopidysudo ./install.sh
Starten Sie Ihren Pi neu
Downloads
PAM8908 Datenblatt
PCM5100A Datenblatt
Pirate Audio Software
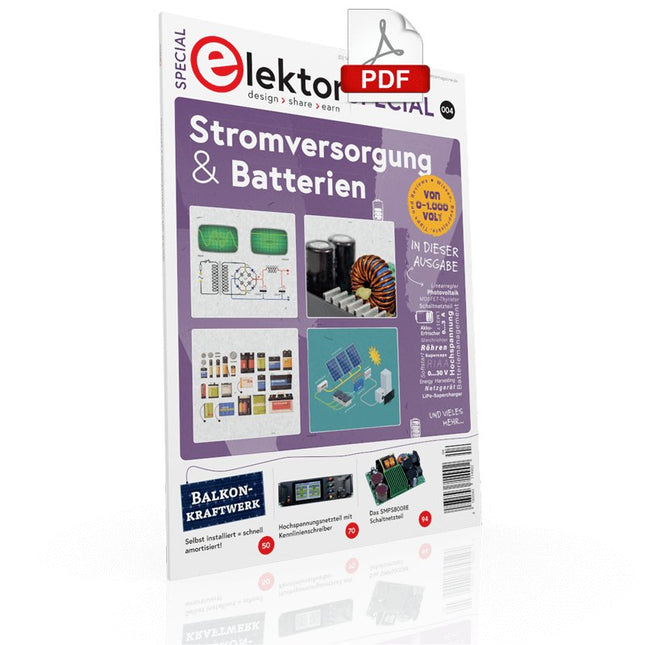
Der einfache „Stromversorgung“ genannte Schaltungsteil wird sowohl bei der Entwicklung als auch bei der Reparatur von Elektronik enorm unterschätzt. Dabei ist die Vielfalt bei Netzteilen oder neudeutsch „PSU“ enorm. Es gibt sie in den unterschiedlichsten Ausführungen: mit Gleich- oder Wechselspannung, als Generator, Akku oder Batterie, als Solar-Panel, extern oder eingebaut, linear oder „geschaltet“ – um nur einige zu nennen. Auch die Leistungsbereiche sind enorm: von Nano-Ampere bis Kilo-Ampere – dasselbe gilt für Spannungen. Bei der konkreten Umsetzung kann man zwischen ICs oder diskreten Bauteilen, zwischen fertigem Gerät bzw. Modul oder der Realisierung aus selbstverlöteten Bauteilen wählen.
Dieses Special deckt die wichtigsten Merkmale und Gestaltungsaspekte von Stromversorgungen ab.
Inhalt
Grundlagen
Batteriemanagement Was man beim Einsatz von (Lithium-)Akkus beachten muss.
Festspannungsnetzgerät mit Linearregler Das beste Ergebnis gleich nach den Batterien.
Lichtenergie sammeln Wie man ein Solarmodul für ein Energy-Harvesting-Projekt verwenden kann.
Netzbetriebene Versorgungsgeräte Basisschaltungen und Tipps für Transformatoren, Gleichrichtung, Siebung und Stabilisierung.
Sanftanlauf Der hohe Einstrompuls sollte vermieden werden.
Steuerbarer Gleichrichter Einige Vorschläge, um die Verlustleistung im Längsregler möglichst gering zu halten.
Komponenten
Arbeitsblatt: Spannungsreglerserie LM117 / LM217 / LM317
Superkondensatoren
Bewertungen
Labornetzteil-Kit Joy-iT RD6006
Elektronische Last Siglent SDL1020X-E
Projekte
Balkon-Kraftwerk Selbst installiert = schnell amortisiert!
DIY-LiPo-Kompressor-Kit Vom Prototyp zum Massenmarkt.
Doppelanoden-MOSFET-Thyristor Schneller und effizienter als herkömmliche SCRs.
Batterie-Entsafter Nicht wegwerfen, ausquetschen!
Hochspannungsnetzteil mit Kennlinienschreiber Spannungen bis 400 V einstellen und Kennlinien für Röhren und Transistoren erstellen.
Hochspannungsnetzteil Für RIAA-Röhrenvorverstärker und andere Anwendungen.
Mikroversorgung Eine Laborstromversorgung für universelle Anwendungen.
Phantom-Speisung mit geschalteten Kondensatoren Spannungsverdreifachung mit zwei ICs.
Das SMPS800RE Schaltnetzteil für den Elektor Fortissimo-100 Zuverlässig, leicht und unkompliziert.
Weicher Start Schont das Netzgerät und die Last.
UniLab 2 Geschaltetes Labornetzteil 0…30 V/3 A
Tipps
Softstart für Step-Down-Schaltregler
Stromabschaltung mit minimalen Verlusten
Powerbank-Geheimnisse
Künstliche Masse
Akku-Erfrischer
Akkupack-Entlader
Parallelschaltung von Spannungsreglern
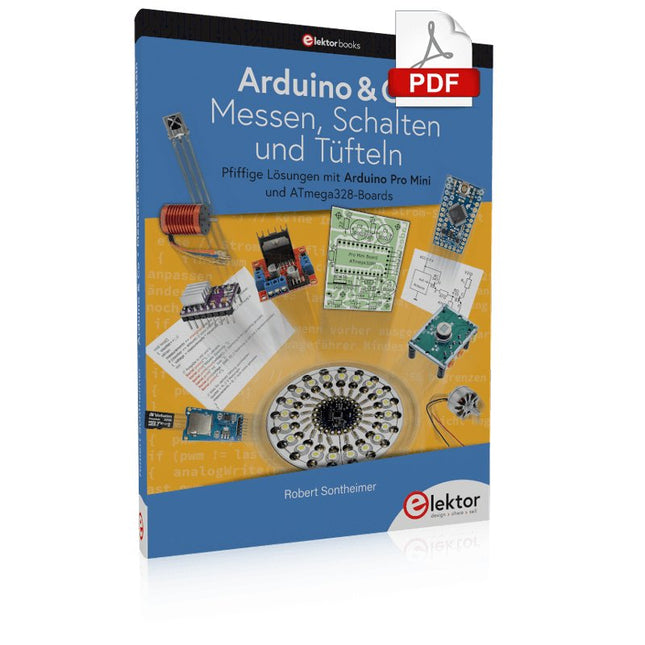
Pfiffige Lösungen mit Arduino Pro Mini und ATmega328-Boards
Mit einem einfachen Arduino Pro Mini Board und ein paar weiteren Bauteilen lassen sich heute für wenig Geld Projekte realisieren, die vor 20 oder 30 Jahren noch undenkbar waren oder ein kleines Vermögen gekostet hätten. Von einfachen LED-Effekten bis zur Ladestation – die den Akku auf Herz und Nieren prüft – ist in diesem Buch vieles dabei.
Als Mikrocontroller dient bei allen beschriebenen Projekten der ATmega328, der mit seinen 20 Ein- und Ausgangsleitungen unzählige Möglichkeiten zum Messen, Schalten und Steuern bietet. Mit einem 7-Segment-Display und ein paar Widerständen lässt sich daraus z. B. ein Voltmeter bauen oder mittels NTC ein Thermometer. Die Arduino-Plattform bietet dabei die perfekte Entwicklungsumgebung zum Programmieren der Boards.
Neben den ganz konkreten Projekten soll das Buch aber auch das nötige Wissen vermitteln, um eigene Ideen zu realisieren. Wie misst man was? Welches ist der geeignete Transistor, um verschiedene Verbraucher zu schalten? Wann ist man mit einem IC besser bedient, oder wie schaltet man Netzspannung? Auch batteriebetriebene Projekte mit LilyPad sind ausführlich thematisiert. Ebenso vielerlei Motoren, vom einfachen Gleichstrommotor bis zum Schrittmotor.
Sensoren sind ein weiteres spannendes Thema. Nur zwei Beispiele: Mit einem winzigen Bauteil lässt sich tatsächlich messen, dass der Luftdruck am Fußboden höher ist als auf Tischhöhe. Mit einem simplen Infrarot-Empfänger kann man ausgedienten Fernbedienungen ein zweites Leben schenken und die Wohnung damit steuern.
Dieser USB-Stick enthält eine Auswahl von über 300 Arduino-bezogenen Artikeln, die im Elektor-Magazin veröffentlicht wurden. Der Inhalt umfasst sowohl Hintergrundartikel als auch Projekte zu folgenden Themen:
Software- und Hardware-Entwicklung: Tutorials zur Arduino-Softwareentwicklung mit der Arduino IDE, Atmel Studio, verschiedenen Shields und grundlegenden Programmierkonzepten.
Lernen: Das Mikrocontroller-Bootcamp bietet einen strukturierten Einstieg in die Programmierung eingebetteter Systeme.
Datenerfassung und -messung: Projekte wie ein 16-Bit-Datenlogger, ein Drehbank-Tachometer und ein AC-Netzanalyzer ermöglichen die Erfassung und Analyse von Echtzeitsignalen.
Drahtlose Kommunikation: Erfahren Sie, wie man drahtlose Netzwerke implementiert, eine Android-Schnittstelle erstellt und effektiv mit Mikrocontrollern kommuniziert.
Robotik und Automatisierung: Lernen Sie den Arduino Nano Robot Controller, unterstützende Automatisierungs-Boards sowie diverse Arduino-Shields zur Funktionserweiterung kennen.
Selbstbauprojekte: Einzigartige DIY-Projekte wie Laserprojektion, eine Numitron-Uhr mit Thermometer, ein ELF-Empfänger, Theremino-Module und Touch-LED-Schnittstellen zeigen kreative Einsatzmöglichkeiten auf.
Egal, ob Sie Einsteiger oder erfahrener Maker sind – diese Sammlung ist eine wertvolle Ressource zum Lernen, Experimentieren und Erweitern der Möglichkeiten mit Arduino.
This book details the use of the Arduino Uno and the Raspberry Pi 4 in practical CAN bus based projects. Using either the Arduino Uno or the Raspberry Pi with off-the-shelf CAN bus interface modules considerably ease developing, debugging, and testing CAN bus based projects.
This book is written for students, practicing engineers, enthusiasts, and for everyone else wanting to learn more about the CAN bus and its applications. The book assumes that the reader has some knowledge of basic electronics. Knowledge of the C and Python programming languages and programming the Arduino Uno using its IDE and Raspberry Pi will be useful, especially if the reader intends to develop microcontroller-based projects using the CAN bus.
The book should be a useful source of reference material for anyone interested in finding answers to questions such as:
What bus systems are available for the automotive industry?
What are the principles of the CAN bus?
How can I create a physical CAN bus?
What types of frames (or data packets) are available in a CAN bus system?
How can errors be detected in a CAN bus system and how dependable is a CAN bus system?
What types of CAN bus controllers exist?
How do I use the MCP2515 CAN bus controller?
How do I create 2-node Arduino Uno-based CAN bus projects?
How do I create 3-node Arduino Uno-based CAN bus projects?
How do I set the acceptance masks and acceptance filters?
How do I analyze data on the CAN bus?
How do I create 2-node Raspberry Pi-based CAN bus projects?
How do I create 3-node Raspberry Pi-based CAN bus projects?
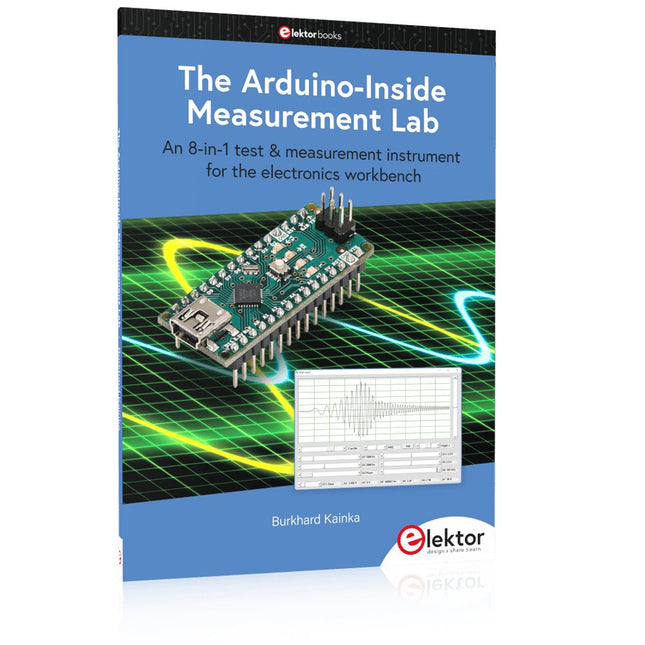
An 8-in-1 test & measurement instrument for the electronics workbench
A well-equipped electronics lab is crammed with power supplies, measuring devices, test equipment and signal generators. Wouldn‘t it be better to have one compact device for almost all tasks? Based on the Arduino, a PC interface is to be developed that’s as versatile as possible for measurement and control. It simply hangs on a USB cable and – depending on the software – forms the measuring head of a digital voltmeter or PC oscilloscope, a signal generator, an adjustable voltage source, a frequency counter, an ohmmeter, a capacitance meter, a characteristic curve recorder, and much more.
The circuits and methods collected here are not only relevant for exactly these tasks in the "MSR" electronics lab, but many details can also be used within completely different contexts.
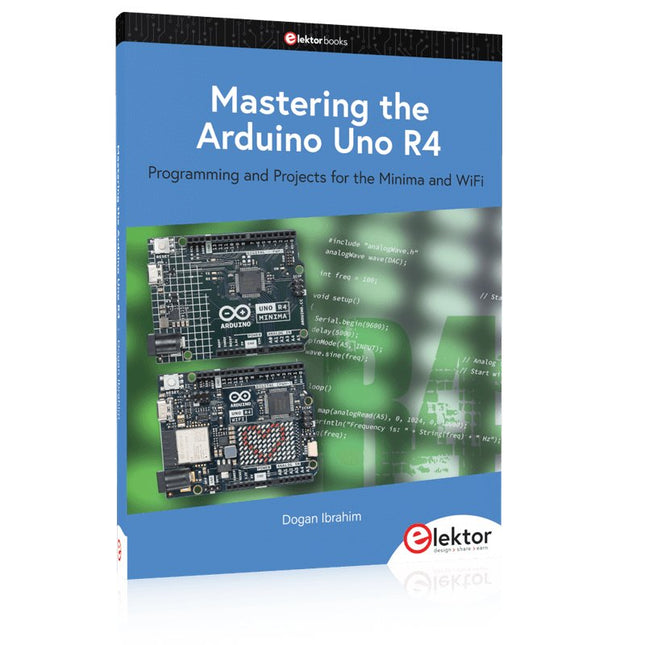
Programming and Projects for the Minima and WiFi
Based on the low-cost 8-bit ATmega328P processor, the Arduino Uno R3 board is likely to score as the most popular Arduino family member, and this workhorse has been with us for many years. Eleven years later, the long-overdue successor, the Arduino Uno R4, was released. It is built around a 48 MHz, 32-bit Arm Cortex-M4 microcontroller and provides significantly expanded SRAM and Flash memory. Additionally, a higher-precision ADC and a new DAC are added to the design. The Uno R4 board also supports the CAN Bus with an interface.
Two versions of the board are available: Uno R4 Minima, and Uno R4 WiFi. This book is about using these new boards to develop many different and interesting projects with just a handful of parts and external modules. All projects described in the book have been fully tested on the Uno R4 Minima or the Uno R4 WiFi board, as appropriate.
The project topics include the reading, control, and driving of many components and modules in the kit as well as on the relevant Uno R4 board, including
LEDs
7-segment displays (using timer interrupts)
LCDs
Sensors
RFID Reader
4x4 Keypad
Real-time clock (RTC)
Joystick
8×8 LED matrix
Motors
DAC (Digital-to-analog converter)
LED matrix
WiFi connectivity
Serial UART
CAN bus
Infrared controller and receiver
Simulators
… all in creative and educational ways with the project operation and associated software explained in great detail.
A Practical Guide to AI, Python, and Hardware Projects
Welcome to your BeagleY-AI journey! This compact, powerful, and affordable single-board computer is perfect for developers and hobbyists. With its dedicated 4 TOPS AI co-processor and a 1.4 GHz Quad-core Cortex-A53 CPU, the BeagleY-AI is equipped to handle both AI applications and real-time I/O tasks. Powered by the Texas Instruments AM67A processor, it offers DSPs, a 3D graphics unit, and video accelerators.
Inside this handbook, you‘ll find over 50 hands-on projects that cover a wide range of topics—from basic circuits with LEDs and sensors to an AI-driven project. Each project is written in Python 3 and includes detailed explanations and full program listings to guide you. Whether you‘re a beginner or more advanced, you can follow these projects as they are or modify them to fit your own creative ideas.
Here’s a glimpse of some exciting projects included in this handbook:
Morse Code Exerciser with LED or BuzzerType a message and watch it come to life as an LED or buzzer translates your text into Morse code.
Ultrasonic Distance MeasurementUse an ultrasonic sensor to measure distances and display the result in real time.
Environmental Data Display & VisualizationCollect temperature, pressure, and humidity readings from the BME280 sensor, and display or plot them on a graphical interface.
SPI – Voltmeter with ADCLearn how to measure voltage using an external ADC and display the results on your BeagleY-AI.
GPS Coordinates DisplayTrack your location with a GPS module and view geographic coordinates on your screen.
BeagleY-AI and Raspberry Pi 4 CommunicationDiscover how to make your BeagleY-AI and Raspberry Pi communicate over a serial link and exchange data.
AI-Driven Object Detection with TensorFlow LiteSet up and run an object detection model using TensorFlow Lite on the BeagleY-AI platform, with complete hardware and software details provided.
Over 45 Builds for the Legendary 555 Chip (and the 556, 558)
The 555 timer IC, originally introduced by the Signetics Corporation around 1971, is sure to rank high among the most popular analog integrated circuits ever produced. Originally called the IC Time Machine, this chip has been used in many timer-related projects by countless people over decades.
This book is all about designing projects based on the 555 timer IC. Over 45 fully tested and documented projects are presented. All projects have been fully tested by the author by constructing them individually on a breadboard. You are not expected to have any programming experiences for constructing or using the projects given in the book. However, it’s definitely useful to have some knowledge of basic electronics and the use of a breadboard for constructing and testing electronic circuits.
Some of the projects in the book are:
Alternately Flashing Two LEDs
Changing LED Flashing Rate
Touch Sensor On/Off Switch
Switch On/Off Delay
Light-Dependent Sound
Dark/Light Switch
Tone Burst Generator
Long Duration Timer
Chasing LEDs
LED Roulette Game
Traffic Lights
Continuity Tester
Electronic Lock
Switch Contact Debouncing
Toy Electronic Organ
Multiple Sensor Alarm System
Metronome
Voltage Multipliers
Electronic Dice
7-Segment Display Counter
Motor Control
7-Segment Display Dice
Electronic Siren
Various Other Projects
The projects given in the book can be modified or expanded by you for your very own applications. Electronic engineering students, people engaged in designing small electronic circuits, and electronic hobbyists should find the projects in the book instructive, fun, interesting, and useful.
ModbusRTU and ModbusTCP examples with the Arduino Uno and ESP8266
Introduction to PLC programming with OpenPLC, the first fully open source Programmable Logic Controller on the Raspberry Pi, and Modbus examples with Arduino Uno and ESP8266
PLC programming is very common in industry and home automation. This book describes how the Raspberry Pi 4 can be used as a Programmable Logic Controller. Before taking you into the programming, the author starts with the software installation on the Raspberry Pi and the PLC editor on the PC, followed by a description of the hardware.
You'll then find interesting examples in the different programming languages complying with the IEC 61131-3 standard. This manual also explains in detail how to use the PLC editor and how to load and execute the programs on the Raspberry Pi. All IEC languages are explained with examples, starting with LD (Ladder Diagram) over ST (Structured Control Language) to SFC (Special Function Chart). All examples can be downloaded from the author's website.
Networking gets thorough attention too. The Arduino Uno and the ESP8266 are programmed as ModbusRTU or ModbusTCP modules to get access to external peripherals, reading sensors and switching electrical loads. I/O circuits complying with the 24 V industry standard may also be of interest for the reader.
The book ends with an overview of commands for ST and LD. After reading the book, the reader will be able to create his own controllers with the Raspberry Pi.
Dieser USB-Stick enthält eine Auswahl von mehr als 350 Artikeln über HF, Funk und Kommunikation, die im Elektor-Magazin veröffentlicht wurden. Der Inhalt besteht sowohl aus Hintergrundartikeln als auch aus Projekten zu den folgenden Themen:
Grundlegende funkbezogene Schaltungen sowie komplexere Schaltungen wie Filter, Oszillatoren und Verstärker.
Entwurf, Konstruktion und Theorie von Antennen zum effizienten Senden und Empfangen von Funksignalen.
Entwurf und Analyse von RF-Schaltungen einschließlich Filtern, Mischern, PLLs und Frequenzsynthesizern. Werkzeuge und Techniken zur Vorhersage der Ausbreitungswege von Funkwellen und zur Messung der RF-Signalstärke.
Techniken zur Verarbeitung digitaler Signale in HF-Systemen, einschließlich Modulations- und Demodulationsverfahren.
Projekte zu Funkempfängern, AM, FM, SSB, CW, DRM, DAB, DAB+, Software Defined Radio und mehr.
Projekte zu Wi-Fi, Bluetooth, LoRaWAN und mehr.
Sie können die Artikelsuchfunktion nutzen, um bestimmte Inhalte im Volltext zu finden. Die Ergebnisse werden immer als vorformatierte PDF-Dokumente angezeigt. Mit Adobe Reader können Sie die Artikel durchblättern und mit der integrierten Suchfunktion von Adobe Reader nach einzelnen Wörtern und Ausdrücken suchen.
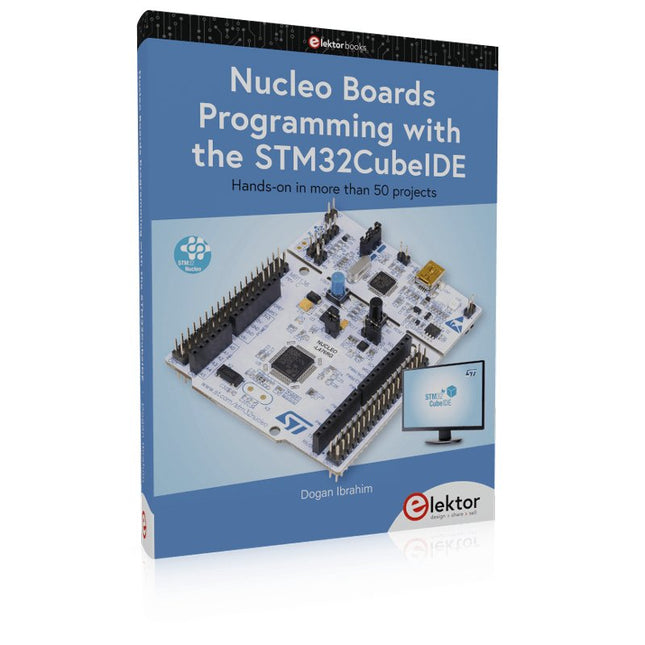
Hands-on in more than 50 projects
STM32 Nucleo family of processors are manufactured by STMicroelectronics. These are low-cost ARM microcontroller development boards. This book is about developing projects using the popular STM32CubeIDE software with the Nucleo-L476RG development board. In the early Chapters of the book the architecture of the Nucleo family is briefly described.
The book covers many projects using most features of the Nucleo-L476RG development board where the full software listings for the STM32CubeIDE are given for each project together with extensive descriptions. The projects range from simple flashing LEDs to more complex projects using modules, devices, and libraries such as GPIO, ADC, DAC, I²C, SPI, LCD, DMA, analogue inputs, power management, X-CUBE-MEMS1 library, DEBUGGING, and others. In addition, several projects are given using the popular Nucleo Expansion Boards. These Expansion Boards plug on top of the Nucleo development boards and provide sensors, relays, accelerometers, gyroscopes, Wi-Fi, and many others. Using an expansion board together with the X-CUBE-MEMS1 library simplifies the task of project development considerably.
All the projects in the book have been tested and are working. The following sub-headings are given for each project: Project Title, Description, Aim, Block Diagram, Circuit Diagram, and Program Listing for the STM32CubeIDE.
In this book you will learn about
STM32 microcontroller architecture;
the Nucleo-L476RG development board in projects using the STM32CubeIDE integrated software development tool;
external and internal interrupts and DMA;
DEBUG, a program developed using the STM32CubeIDE;
the MCU in Sleep, Stop, and in Standby modes;
Nucleo Expansion Boards with the Nucleo development boards.
What you need
a PC with Internet connection and a USB port;
STM32CubeIDE software (available at STMicroelectronics website free of charge)
the project source files, available from the book’s webpage hosted by Elektor;
Nucleo-L476RG development board;
simple electronic devices such as LEDs, temperature sensor, I²C and SPI chips, and a few more;
Nucleo Expansion Boards (optional).