Suchergebnisse für "get OR started OR with OR the OR nxp OR i OR mx OR rt1010 OR development OR bundle"
-

NXP Semiconductors NXP FRDM-MCXN947 Development Board
The FRDM-MCXN947 is a compact and versatile development board designed for rapid prototyping with MCX N94 and N54 microcontrollers. It features industry-standard headers for easy access to the MCU's I/Os, integrated open-standard serial interfaces, external flash memory, and an onboard MCU-Link debugger. Technische Daten Microcontroller MCX-N947 Dual Arm Cortex-M33 cores @ 150 MHz each with optimized performance efficiency, up to 2 MB dual-bank flash with optional full ECC RAM, External flash Accelerators: Neural Processing Unit, PowerQuad, Smart DMA, etc. Memory Expansion *DNP Micro SD card socket Connectivity Ethernet Phy and connector HS USB-C connectors SPI/I²C/UART connector (PMOD/mikroBUS, DNP) WiFi connector (PMOD/mikroBUS, DNP) CAN-FD transceiver Debug On-board MCU-Link debugger with CMSIS-DAP JTAG/SWD connector Sensor P3T1755 I³C/I²C Temp Sensor, Touch Pad Expansion Options Arduino Header (with FRDM expansion rows) FRDM Header FlexIO/LCD Header SmartDMA/Camera Header Pmod *DNP mikroBUS User Interface RGB user LED, plus Reset, ISP, Wakeup buttons Lieferumfang 1x FRDM-MCXN947 Development Board 1x USB-C Cable 1x Quick Start Guide Downloads Datasheet Block diagram
€ 29,95€ 19,95
Mitglieder identisch
-
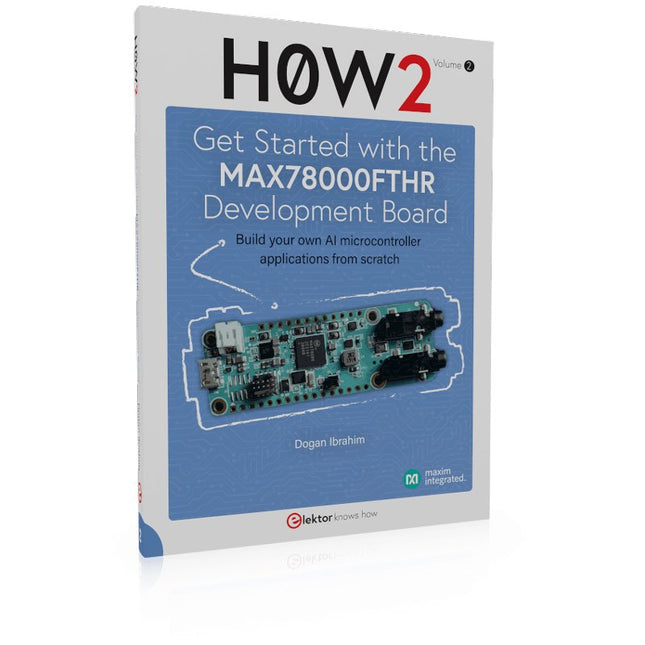
Elektor Publishing H0W2: Get Started with the MAX78000FTHR Development Board
Build your own AI microcontroller applications from scratch The MAX78000FTHR from Maxim Integrated is a small development board based on the MAX78000 MCU. The main usage of this board is in artificial intelligence applications (AI) which generally require large amounts of processing power and memory. It marries an Arm Cortex-M4 processor with a floating-point unit (FPU), convolutional neural network (CNN) accelerator, and RISC-V core into a single device. It is designed for ultra-low power consumption, making it ideal for many portable AI-based applications. This book is project-based and aims to teach the basic features of the MAX78000FTHR. It demonstrates how it can be used in various classical and AI-based projects. Each project is described in detail and complete program listings are provided. Readers should be able to use the projects as they are, or modify them to suit their applications. This book covers the following features of the MAX78000FTHR microcontroller development board: Onboard LEDs and buttons External LEDs and buttons Using analog-to-digital converters I²C projects SPI projects UART projects External interrupts and timer interrupts Using the onboard microphone Using the onboard camera Convolutional Neural Network
€ 39,95
Mitglieder € 35,96
-
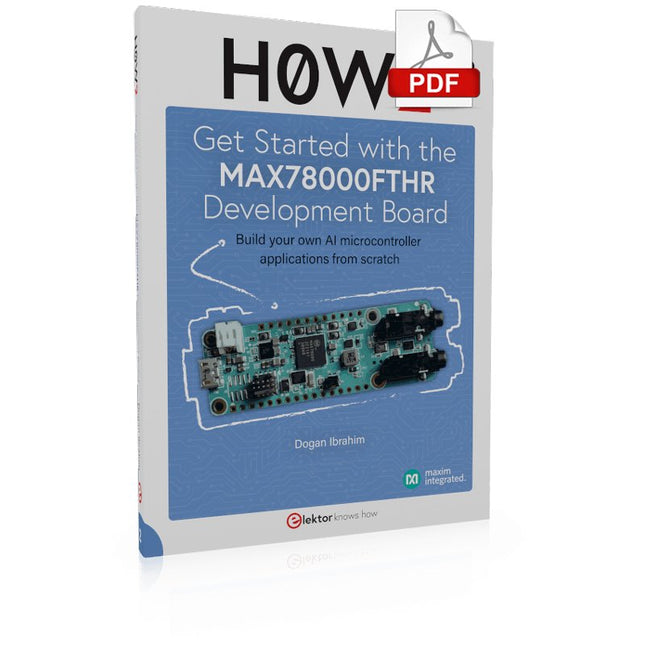
Elektor Digital H0W2: Get Started with the MAX78000FTHR Development Board (E-book)
Build your own AI microcontroller applications from scratch The MAX78000FTHR from Maxim Integrated is a small development board based on the MAX78000 MCU. The main usage of this board is in artificial intelligence applications (AI) which generally require large amounts of processing power and memory. It marries an Arm Cortex-M4 processor with a floating-point unit (FPU), convolutional neural network (CNN) accelerator, and RISC-V core into a single device. It is designed for ultra-low power consumption, making it ideal for many portable AI-based applications. This book is project-based and aims to teach the basic features of the MAX78000FTHR. It demonstrates how it can be used in various classical and AI-based projects. Each project is described in detail and complete program listings are provided. Readers should be able to use the projects as they are, or modify them to suit their applications. This book covers the following features of the MAX78000FTHR microcontroller development board: Onboard LEDs and buttons External LEDs and buttons Using analog-to-digital converters I²C projects SPI projects UART projects External interrupts and timer interrupts Using the onboard microphone Using the onboard camera Convolutional Neural Network
€ 32,95
Mitglieder € 26,36
-
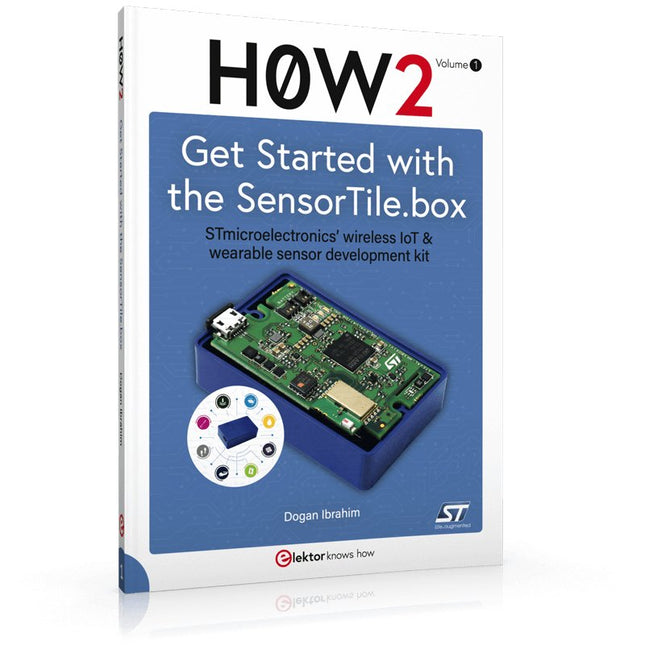
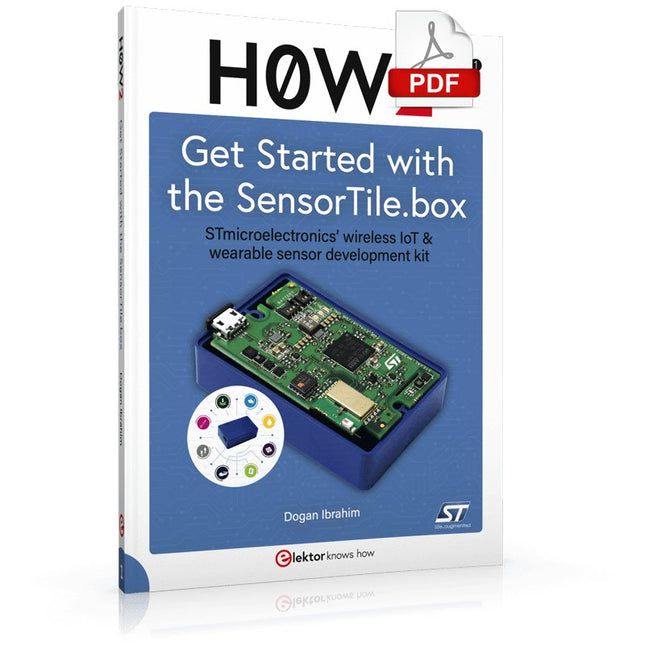
Elektor Publishing H0W2: Get Started with the SensorTile.box
STmicroelectronics’ wireless IoT & wearable sensor development kit ‘SensorTile.box’ is a portable multi-sensor circuit board housed in a plastic box and developed by STMicroelectronics. It is equipped with a high-performance 32-bit ARM Cortex-M4 processor with DSP and FPU, and various sensor modules, such as accelerometer, gyroscope, temperature sensor, humidity sensor, atmospheric pressure sensor, microphone, and so on. SensorTile.box is ready to use with wireless IoT and Bluetooth connectivity that can easily be used with an iOS or Android compatible smartphone, regardless of the level of expertise of the users. SensorTile.box is shipped with a long-life battery and all the user has to do is connect the battery to the circuit to start using the box. The SensorTile.box can be operated in three modes: Basic mode, Expert mode, and Pro mode. Basic mode is the easiest way of using the box since it is pre-loaded with demo apps and all the user has to do is choose the required apps and display or plot the measured data on a smartphone using an app called STE BLE Sensor. In Expert mode users can develop simple apps using a graphical wizard provided with the STE BLE Sensor. Pro mode is the most complex mode allowing users to develop programs and upload them to the SensorTile.box. This book is an introduction to the SensorTile.box and includes the following: Brief specifications of the SensorTile.box; description of how to install the STE BLE Sensor app on an iOS or Android compatible smartphone required to communicate with the box. Operation of the SensorTile.box in Basic mode is described in detail by going through all of the pre-loaded demo apps, explaining how to run these apps through a smartphone. An introduction to the Expert mode with many example apps developed and explained in detail enabling users to develop their own apps in this mode. Again, the STE BLE Sensor app is used on the smartphone to communicate with the SensorTile.box and to run the developed apps. The book then describes in detail how to upload the sensor data to the cloud. This is an important topic since it allows the sensor measurements to be accessed from anywhere with an Internet connection, at any time. Finally, Pro mode is described in detail where more experienced people can use the SensorTile.box to develop, debug, and test their own apps using the STM32 open development environment (STM32 ODE). The Chapter explains how to upload the developed firmware to the SensorTile.box using several methods. Additionally, the installation and use of the Unicleo-GUI package is described with reference to the SensorTile.box. This PC software package enables all of the SensorTile.box sensor measurements to be displayed or plotted in real time on the PC.
€ 34,95
Mitglieder € 31,46
-
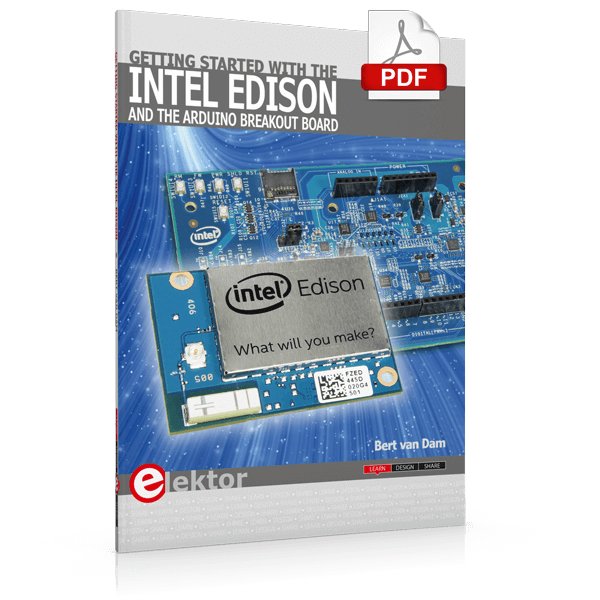
Elektor Digital Getting Started with the Intel Edison (E-book)
The Internet of Things is rapidly gaining interest, and that has fueled the development of the Edison. A tiny computer, the size of a postage stamp, with a lot of power and built-in wireless communication capabilities. In this eBook we will help you get up-to-speed with the Edison, by installing the software both on the Edison as well as on your Windows PC. We will use the Edison Arduino break-out board because it is easy to work with. We will discuss Linux, Arduino C++ and Python, and show examples of how the Edison can interface with other hardware. We will use Wi-Fi and Bluetooth to set up wireless connections, and show you a trick to program sketches over Wi-Fi. Once you have completed this book your Edison will be up and running with the latest software version, and you will have sufficient knowledge of both hardware and software to start making your own applications. You will even be able to program the Edison over USB and wireless both in Arduino C++ and Python. This is not a projects eBook, but a toolbox that will allow you to explore the wonderful world of the Intel Edison!
€ 24,95
Mitglieder € 19,96
-
Elektor Digital H0W2: Get Started with the SensorTile.box (E-book)
STmicroelectronics’ wireless IoT & wearable sensor development kit ‘SensorTile.box’ is a portable multi-sensor circuit board housed in a plastic box and developed by STMicroelectronics. It is equipped with a high-performance 32-bit ARM Cortex-M4 processor with DSP and FPU, and various sensor modules, such as accelerometer, gyroscope, temperature sensor, humidity sensor, atmospheric pressure sensor, microphone, and so on. SensorTile.box is ready to use with wireless IoT and Bluetooth connectivity that can easily be used with an iOS or Android compatible smartphone, regardless of the level of expertise of the users. SensorTile.box is shipped with a long-life battery and all the user has to do is connect the battery to the circuit to start using the box. The SensorTile.box can be operated in three modes: Basic mode, Expert mode, and Pro mode. Basic mode is the easiest way of using the box since it is pre-loaded with demo apps and all the user has to do is choose the required apps and display or plot the measured data on a smartphone using an app called STE BLE Sensor. In Expert mode users can develop simple apps using a graphical wizard provided with the STE BLE Sensor. Pro mode is the most complex mode allowing users to develop programs and upload them to the SensorTile.box. This book is an introduction to the SensorTile.box and includes the following: Brief specifications of the SensorTile.box; description of how to install the STE BLE Sensor app on an iOS or Android compatible smartphone required to communicate with the box. Operation of the SensorTile.box in Basic mode is described in detail by going through all of the pre-loaded demo apps, explaining how to run these apps through a smartphone. An introduction to the Expert mode with many example apps developed and explained in detail enabling users to develop their own apps in this mode. Again, the STE BLE Sensor app is used on the smartphone to communicate with the SensorTile.box and to run the developed apps. The book then describes in detail how to upload the sensor data to the cloud. This is an important topic since it allows the sensor measurements to be accessed from anywhere with an Internet connection, at any time. Finally, Pro mode is described in detail where more experienced people can use the SensorTile.box to develop, debug, and test their own apps using the STM32 open development environment (STM32 ODE). The Chapter explains how to upload the developed firmware to the SensorTile.box using several methods. Additionally, the installation and use of the Unicleo-GUI package is described with reference to the SensorTile.box. This PC software package enables all of the SensorTile.box sensor measurements to be displayed or plotted in real time on the PC.
€ 29,95
Mitglieder € 23,96
-
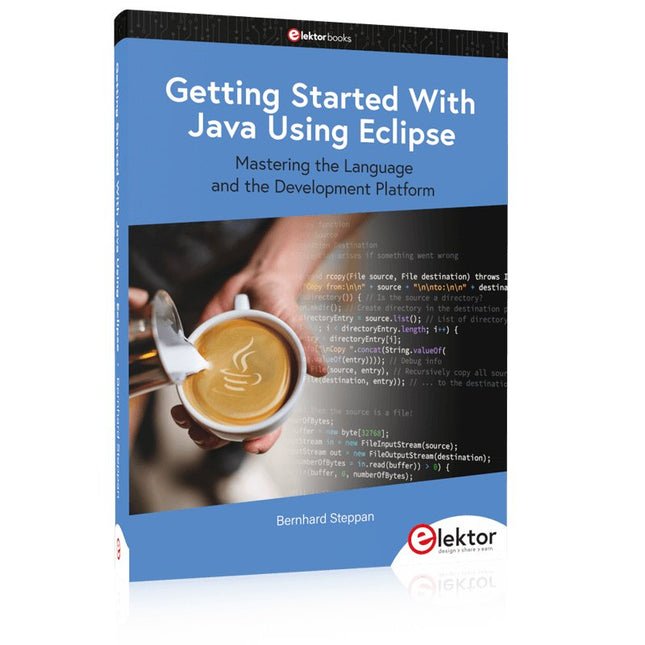
Elektor Publishing Getting Started With Java Using Eclipse
Mastering the Language and the Development Platform Many people would like to learn Java but getting started is not easy since programming with Java requires at least two things: mastering the programming language and the development environment. With the help of many examples, this book shows how the language is structured. In addition, it employs the Eclipse development environment as an example of a powerful tool to teach developing Java programs. In Basics, the first part of the book, you acquire your Java and Eclipse basic knowledge. This part lays the programming foundations, gives you an overview of Java technology, and shows you what is special about object-oriented programming. In the second part called Java Language, everything revolves around the subtleties of the Java language and this is where the first small Java applications are created, aided by a fine blend of the knowledge part and practical exercises. Java Technology is both the name and the focus of the third part which also introduces you to the rules to observe when programming, what class libraries are and what advantages they have. In addition, you will learn how to test programs, what algorithms are, and how to program them. The fourth part, Java Projects, enables you to apply all the previous elements in an application with a graphical user interface. The project shows how to develop a larger application piece by piece with the Eclipse development environment. The Appendix concludes with a section on frequent errors that can occur when working with Eclipse, and a Glossary.
€ 44,95
Mitglieder € 40,46
-
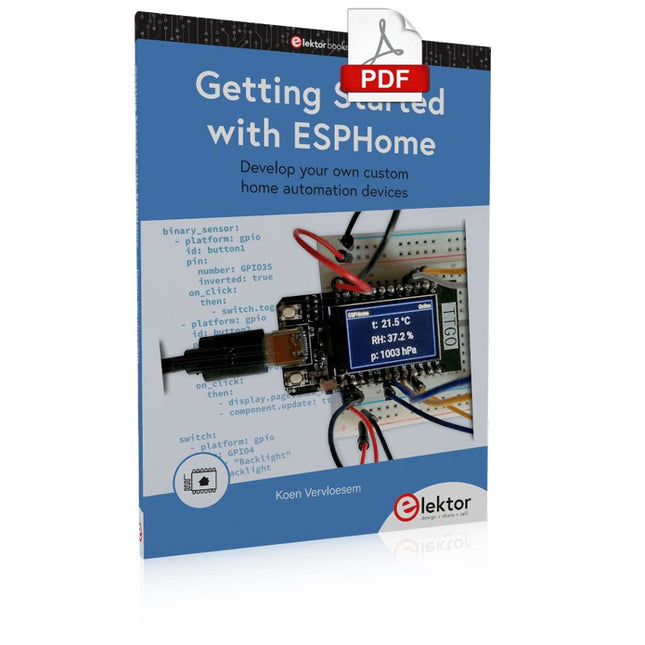
Elektor Digital Getting Started with ESPHome (E-book)
Develop your own custom home automation devices Espressif's ESP8266 and ESP32 microcontrollers have brought DIY home automation to the masses. However, not everyone is fluent in programming these microcontrollers with Espressif's C/C++ SDK, the Arduino core, or MicroPython. This is where ESPHome comes into its own: with this project, you don’t program your microcontroller but configure it. This book demonstrates how to create your own home automation devices with ESPHome on an ESP32 microcontroller board. You’ll learn how to combine all kinds of electronic components and automate complex behaviours. Your devices can work completely autonomously, and connect over Wi-Fi to your home automation gateways such as Home Assistant or MQTT broker. By the end of this book, you will be able to create your own custom home automation devices the way you want. Thanks to ESPHome and the ESP32, this is within everyone’s grasp. Set up an ESPHome development environment and create maintainable configurations Use buttons and LEDs Sound a buzzer and play melodies Read measurements from various types of sensors Communicate over a short distance with NFC, infrared light, and Bluetooth Low Energy Show information on various types of displays Downloads Software
€ 29,95
Mitglieder € 23,96
-
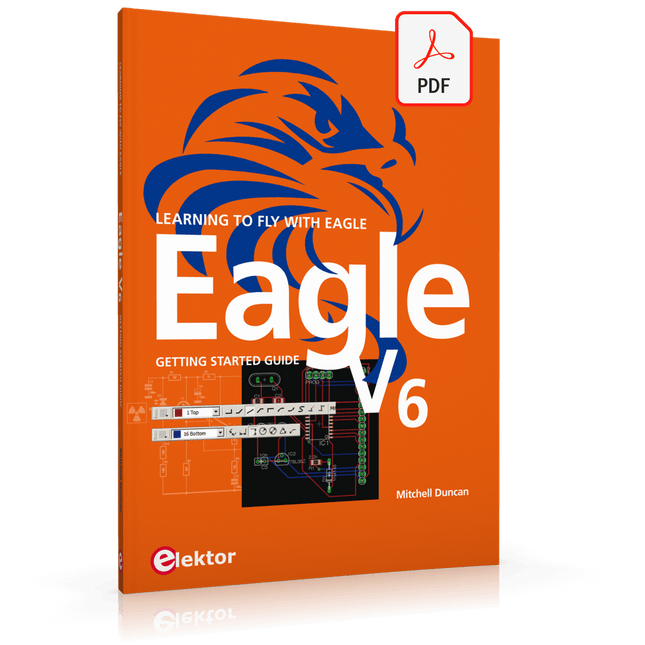
Elektor Digital EAGLE V6 Getting Started Guide (E-book)
Whether you are an electronics enthusiast or engineering professional, this book provides the reader with an introduction to the use of the CadSoft’s EAGLE PCB design software package. EAGLE is a user-friendly, powerful and affordable software package for the efficient design of printed circuit boards. It offers the same power and functionality to all users, at a smaller cost than its competitors. A free version of EAGLE is available to enthusiasts for their own use. EAGLE can be used on the main computing platforms including: Microsoft Windows (XP, Vista or Windows 7); Linux (based on kernel 2.6 or above) and Apple Mac OS X (Version 10.6 or higher). Any hardware that supports these software platforms will run the EAGLE application. The book is intended for anyone who wants an introduction to the capabilities of EAGLE. The reader may be a novice at PCB design or a professional wanting to learn about EAGLE, with the intention of migrating from another CAD package. This book will quickly allow you to: obtain an overview of the main modules of EAGLE: the schematic editor; layout editor and autorouter in one single interface; learn to use some of the basic commands in the schematic and layout editor modules of EAGLE; apply your knowledge of EAGLE commands to a small project; learn more about some of the advanced concepts of EAGLE and its capabilities; understand how EAGLE relates to the stages of PCB manufacture; create a complete project, from design through to PCB fabrication. The project discussed in the book is a popular, proven design from the engineering team at Elektor. After reading this book while practicing some of the examples, and completing the projects, the reader should feel confident about taking on more challenging endeavors.
€ 29,95
Mitglieder € 23,96
-
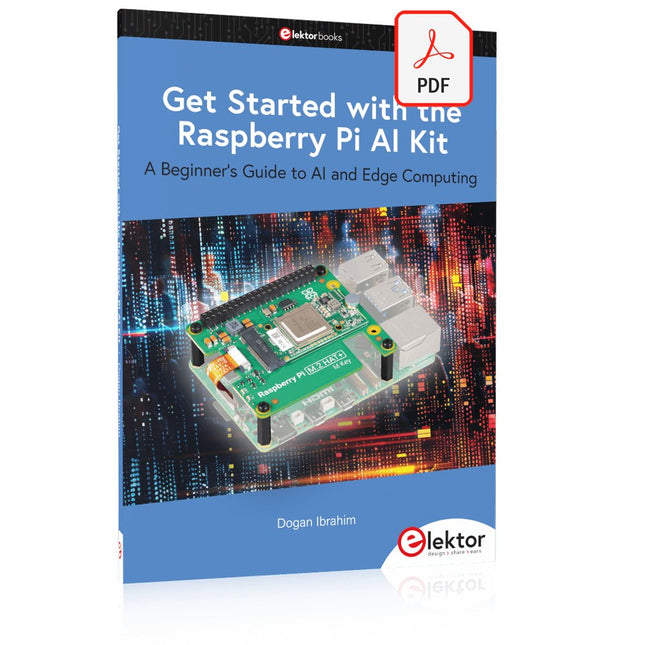
Elektor Digital Get Started with the Raspberry Pi AI Kit (E-book)
A Beginner's Guide to AI and Edge Computing Artificial Intelligence (AI) is now part of our daily lives. With companies developing low-cost AI-powered hardware into their products, it is now becoming a reality to purchase AI accelerator hardware at comparatively very low costs. One such hardware accelerator is the Hailo module which is fully compatible with the Raspberry Pi 5. The Raspberry Pi AI Kit is a cleverly designed hardware as it bundles an M.2-based Hailo-8L accelerator with the Raspberry Pi M.2 HAT+ to offer high speed inferencing on the Raspberry Pi 5. Using the Raspberry Pi AI Kit, you can build complex AI-based vision applications, running in real-time, such as object detection, pose estimation, instance segmentation, home automation, security, robotics, and many more neural network-based applications. This book is an introduction to the Raspberry Pi AI Kit, and it is aimed to provide some help to readers who are new to the kit and wanting to run some simple AI-based visual models on their Raspberry Pi 5 computers. The book is not meant to cover the detailed process of model creation and compilation, which is done on an Ubuntu computer with massive disk space and 32 GB memory. Examples of pre-trained and custom object detection are given in the book. Two fully tested and working projects are given in the book. The first project explains how a person can be detected and how an LED can be activated after the detection, and how the detection can be acknowledged by pressing an external button. The second project illustrates how a person can be detected, and how this information can be passed to a smart phone over a Wi-Fi link, as well as how the detection can be acknowledged by sending a message from the smartphone to your Raspberry Pi 5.
€ 29,95
Mitglieder € 23,96
-
Elektor Digital Getting Started With Java Using Eclipse (E-book)
Mastering the Language and the Development Platform Many people would like to learn Java but getting started is not easy since programming with Java requires at least two things: mastering the programming language and the development environment. With the help of many examples, this book shows how the language is structured. In addition, it employs the Eclipse development environment as an example of a powerful tool to teach developing Java programs. In Basics, the first part of the book, you acquire your Java and Eclipse basic knowledge. This part lays the programming foundations, gives you an overview of Java technology, and shows you what is special about object-oriented programming. In the second part called Java Language, everything revolves around the subtleties of the Java language and this is where the first small Java applications are created, aided by a fine blend of the knowledge part and practical exercises. Java Technology is both the name and the focus of the third part which also introduces you to the rules to observe when programming, what class libraries are and what advantages they have. In addition, you will learn how to test programs, what algorithms are, and how to program them. The fourth part, Java Projects, enables you to apply all the previous elements in an application with a graphical user interface. The project shows how to develop a larger application piece by piece with the Eclipse development environment. The Appendix concludes with a section on frequent errors that can occur when working with Eclipse, and a Glossary.
€ 34,95
Mitglieder € 27,96
-

€ 87,75€ 54,95
Mitglieder identisch


