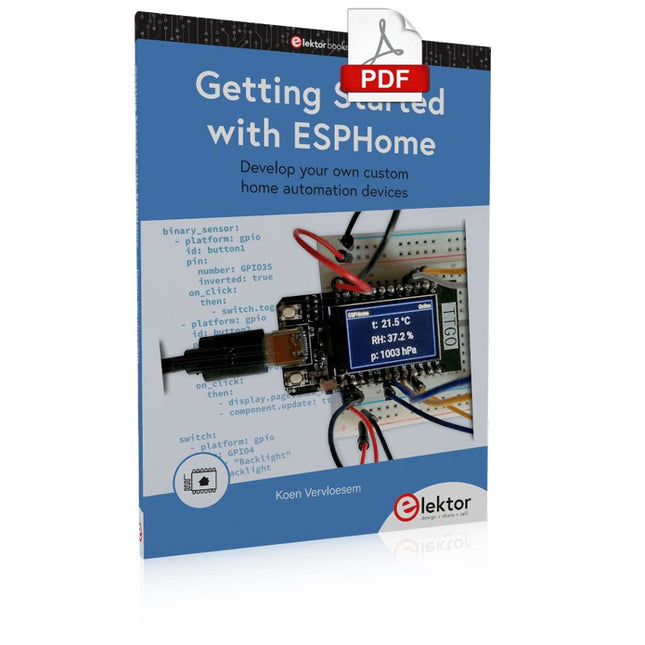
Develop your own custom home automation devices
Espressif's ESP8266 and ESP32 microcontrollers have brought DIY home automation to the masses. However, not everyone is fluent in programming these microcontrollers with Espressif's C/C++ SDK, the Arduino core, or MicroPython. This is where ESPHome comes into its own: with this project, you don’t program your microcontroller but configure it.
This book demonstrates how to create your own home automation devices with ESPHome on an ESP32 microcontroller board. You’ll learn how to combine all kinds of electronic components and automate complex behaviours. Your devices can work completely autonomously, and connect over Wi-Fi to your home automation gateways such as Home Assistant or MQTT broker.
By the end of this book, you will be able to create your own custom home automation devices the way you want. Thanks to ESPHome and the ESP32, this is within everyone’s grasp.
Set up an ESPHome development environment and create maintainable configurations
Use buttons and LEDs
Sound a buzzer and play melodies
Read measurements from various types of sensors
Communicate over a short distance with NFC, infrared light, and Bluetooth Low Energy
Show information on various types of displays
Downloads
Software
Über 40 vollständig getestete ESP32-Projekte mit Arduino IDE und der LVGL-Grafikbibliothek
Dieses Bundle enthält das ESP32 Cheap Yellow Display (CYD) – ein kompaktes Entwicklungsboard, das einen Standard-ESP32-Mikrocontroller mit einem 320 x 240 Pixel großen TFT-Farbdisplay kombiniert. Das Board verfügt außerdem über mehrere Anschlüsse für GPIO, serielle Kommunikation (TX/RX), Strom und Masse. Das integrierte Display ist ein großer Vorteil und ermöglicht die Erstellung komplexer, grafikbasierter Projekte ohne externe LCDs oder Displays.
Das Begleitbuch stellt die Hardware und die integrierten Anschlüsse des CYD-Boards detailliert vor. Es bietet eine Reihe von Projekten für Anfänger und Fortgeschrittene, die mit der beliebten Arduino IDE 2.0 entwickelt wurden. Sowohl grundlegende Grafikfunktionen als auch die leistungsstarke LVGL-Grafikbibliothek werden behandelt, und praktische Projekte veranschaulichen jeden Ansatz.
Alle enthaltenen Projekte wurden vollständig getestet und sind sofort einsatzbereit. Das Buch enthält Blockdiagramme, Schaltpläne, vollständige Codelisten und Schritt-für-Schritt-Erklärungen. Mit der LVGL-Bibliothek können Leser moderne, vollfarbige grafische Benutzeroberflächen mit Widgets wie Schaltflächen, Beschriftungen, Schiebereglern, Kalendern, Tastaturen, Diagrammen, Tabellen, Menüs, Animationen und mehr erstellen.
ESP32 Cheap Yellow Display Board
Dieses Entwicklungsboard (auch bekannt als "Cheap Yellow Display") wird vom ESP-WROOM-32 angetrieben, einem Dual-Core-MCU mit integrierten Wi-Fi- und Bluetooth-Funktionen. Es arbeitet mit einer Hauptfrequenz von bis zu 240 MHz, mit 520 KB SRAM, 448 KB ROM und einem 4 MB Flash-Speicher. Das Board verfügt über ein 2,8" Display mit einer Auflösung von 240x320 und Resistive Touch.
Darüber hinaus enthält die Platine einen Steuerkreis für die Hintergrundbeleuchtung, einen Schaltkreis für die Berührungssteuerung, einen Schaltkreis für die Lautsprecheransteuerung, einen lichtempfindlichen Schaltkreis und einen RGB-LED-Steuerschaltkreis. Es bietet außerdem einen TF-Kartensteckplatz, eine serielle Schnittstelle, eine DHT11-Schnittstelle für Temperatur- und Feuchtigkeitssensoren und zusätzliche E/A-Anschlüsse.
Das Modul unterstützt die Entwicklung in Arduino IDE, ESP-IDE, MicroPython und Mixly.
Anwendungen
Bildübertragung für Smart Home-Gerät
Drahtlose Überwachung
Intelligente Landwirtschaft
QR-Funkerkennung
Signal des drahtlosen Positionierungssystems
Und andere IoT-Anwendungen
Technische Daten
Mikrocontroller
ESP-WROOM-32 (Dual-Core-MCU mit integriertem WLAN und Bluetooth)
Frequenz
Bis zu 240 MHz (Rechenleistung bis zu 600 DMIPS)
SRAM
520 KB
ROM
448 KB
Flash
4 MB
Betriebsspannung
5 V
Stromverbrauch
ca. 115 mA
Display
2,8" TFT-Farbbildschirm (240 x 320)
Touch
Resistive Touch
Treiberchip
ILI9341
Abmessungen
50 x 86 mm
Gewicht
50 g
Downloads
GitHub
Inhalt des Bundles
The ESP32 Cheap Yellow Display Book (Einzelpreis: 35 €)
ESP32 Cheap Yellow Display Board (Einzelpreis: 25 €)
1x ESP32 Dev-Board mit 2,8" Display und Acrylgehäuse
1x Touch-Stift
1x Verbindungskabel
1x USB-Kabel
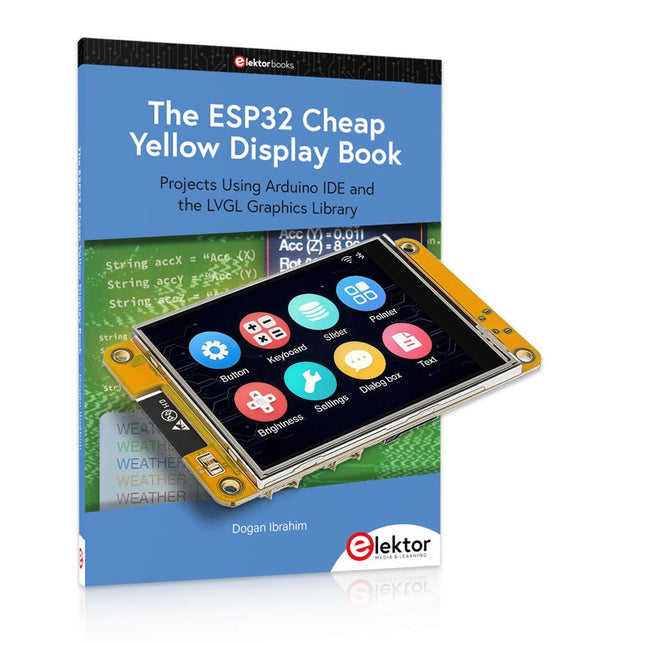
Projects Using Arduino IDE and the LVGL Graphics Library
The ESP32 is probably one of the most popular microcontrollers used by many people, including students, hobbyists, and professional engineers. Its low cost, coupled with rich features makes it a popular device to use in many projects. Recently, a board called the ESP32 Cheap Yellow Display (CYD for short) is available from its manufacturers. The board includes a standard ESP32 microcontroller together with a 320x240 pixel TFT display. Additionally, the board provides several connectors for interfaces such as GPIO, serial port (TX/RX), power and Ground. The inclusion of a TFT display is a real advantage as it enables users to design complex graphics-based projects without resorting to an external LCD or graphics displays.
The book describes the basic hardware of the ESP32 CYD board and provides details of its on-board connectors. Many basic, simple, and intermediate-level projects are given in the book based on the ESP32 CYD, using the highly popular Arduino IDE 2.0 integrated development environment. The use of both the basic graphics functions and the use of the popular LVGL graphics library are discussed in the book and projects are given that use both types of approaches.
All the projects given in the book have been tested and are working. The block diagram, circuit diagram, and the complete program listings and program descriptions of all the projects are given with explanations. Readers can use the LVGL graphics library to design highly popular eye-catching full-color graphics projects using widgets such as buttons, labels, calendars, keypads, keyboards, message boxes, spinboxes, sliders, charts, tables, menus, bars, switches, drop-down lists, animations, and many more widgets.
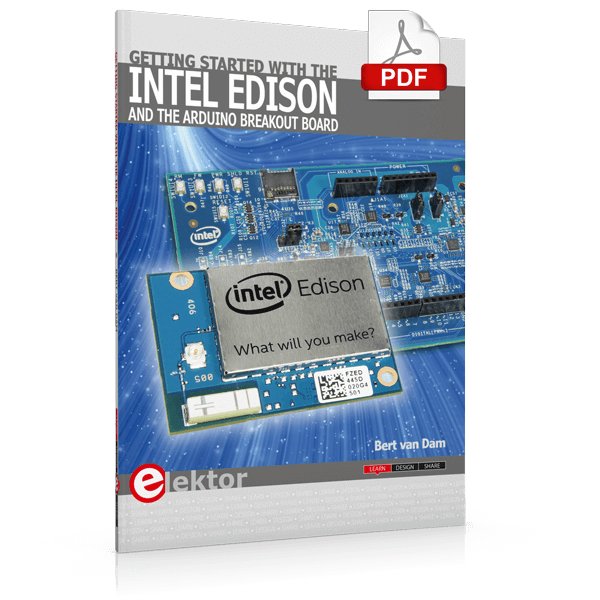
The Internet of Things is rapidly gaining interest, and that has fueled the development of the Edison. A tiny computer, the size of a postage stamp, with a lot of power and built-in wireless communication capabilities.
In this eBook we will help you get up-to-speed with the Edison, by installing the software both on the Edison as well as on your Windows PC. We will use the Edison Arduino break-out board because it is easy to work with. We will discuss Linux, Arduino C++ and Python, and show examples of how the Edison can interface with other hardware. We will use Wi-Fi and Bluetooth to set up wireless connections, and show you a trick to program sketches over Wi-Fi.
Once you have completed this book your Edison will be up and running with the latest software version, and you will have sufficient knowledge of both hardware and software to start making your own applications. You will even be able to program the Edison over USB and wireless both in Arduino C++ and Python.
This is not a projects eBook, but a toolbox that will allow you to explore the wonderful world of the Intel Edison!
Mastering the Language and the Development Platform
Many people would like to learn Java but getting started is not easy since programming with Java requires at least two things: mastering the programming language and the development environment. With the help of many examples, this book shows how the language is structured. In addition, it employs the Eclipse development environment as an example of a powerful tool to teach developing Java programs.
In Basics, the first part of the book, you acquire your Java and Eclipse basic knowledge. This part lays the programming foundations, gives you an overview of Java technology, and shows you what is special about object-oriented programming.
In the second part called Java Language, everything revolves around the subtleties of the Java language and this is where the first small Java applications are created, aided by a fine blend of the knowledge part and practical exercises.
Java Technology is both the name and the focus of the third part which also introduces you to the rules to observe when programming, what class libraries are and what advantages they have. In addition, you will learn how to test programs, what algorithms are, and how to program them.
The fourth part, Java Projects, enables you to apply all the previous elements in an application with a graphical user interface. The project shows how to develop a larger application piece by piece with the Eclipse development environment. The Appendix concludes with a section on frequent errors that can occur when working with Eclipse, and a Glossary.
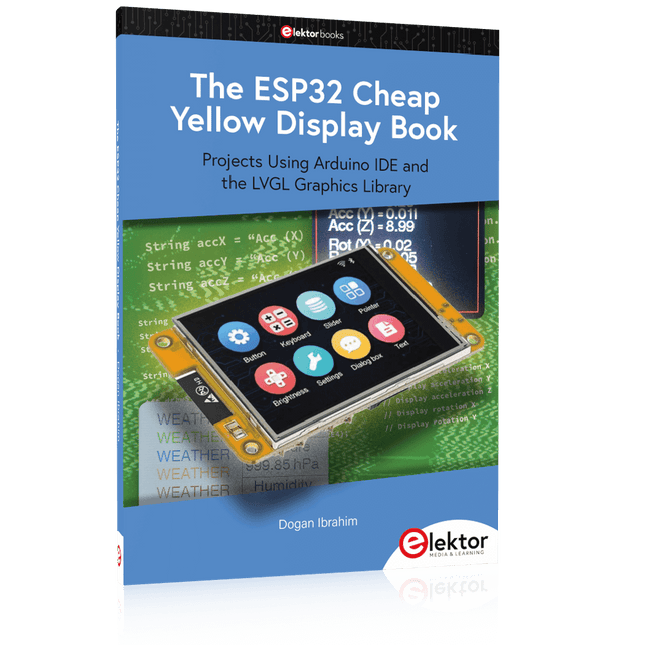
Projects Using Arduino IDE and the LVGL Graphics Library
The ESP32 is probably one of the most popular microcontrollers used by many people, including students, hobbyists, and professional engineers. Its low cost, coupled with rich features makes it a popular device to use in many projects. Recently, a board called the ESP32 Cheap Yellow Display (CYD for short) is available from its manufacturers. The board includes a standard ESP32 microcontroller together with a 320x240 pixel TFT display. Additionally, the board provides several connectors for interfaces such as GPIO, serial port (TX/RX), power and Ground. The inclusion of a TFT display is a real advantage as it enables users to design complex graphics-based projects without resorting to an external LCD or graphics displays.
The book describes the basic hardware of the ESP32 CYD board and provides details of its on-board connectors. Many basic, simple, and intermediate-level projects are given in the book based on the ESP32 CYD, using the highly popular Arduino IDE 2.0 integrated development environment. The use of both the basic graphics functions and the use of the popular LVGL graphics library are discussed in the book and projects are given that use both types of approaches.
All the projects given in the book have been tested and are working. The block diagram, circuit diagram, and the complete program listings and program descriptions of all the projects are given with explanations. Readers can use the LVGL graphics library to design highly popular eye-catching full-color graphics projects using widgets such as buttons, labels, calendars, keypads, keyboards, message boxes, spinboxes, sliders, charts, tables, menus, bars, switches, drop-down lists, animations, and many more widgets.
Open-Source-Code mit Arduino IDE und PlatformIO
Autonomes Fahren: GPS, Accelerometer, Gyroskop
PS3-Controller
Mikrocontroller wie der Arduino und Einplatinenrechner wie der Raspberry Pi haben sich zu beliebten Komponenten entwickelt. Dritter im Bunde ist der ESP32 der Firma Espressif. Mikrocontroller dieser Baureihe zeichnen sich durch eine Vielzahl implementierter Funktionen aus, die bei einem Arduino konventioneller Prägung mit einem Atmel-AVR-Mikrocontroller erst mit weiterer Hardware möglich sind. Prominentes Beispiel sind hier die WiFi- und Bluetooth-Funktionalitäten. Gegenüber einem Raspberry Pi zeichnen sie sich durch einen deutlich geringeren Preis aus.
Allgemeine Informationen für die Realisierung eines Roboterauto-Projekts mit dem ESP32 sind leicht zu finden. Dabei handelt es sich aber oft nur um Ausführungen zu einem Teilaspekt, ohne inhaltliche oder funktionale Abstimmung. So ist nicht nur die Beschaffung der benötigten Informationen mühselig und zeitaufwändig, sie kann auch außerordentlich fehlerträchtig sein.
Ansatzpunkt dieses Buches ist, diese Lücke zu schließen. Es geht auf verschiedene Möglichkeiten eines Chassis ein, vermittelt nötige Kenntnisse und führt schrittweise von einer einfachen Motorsteuerung zu einem komplexen sensor- und sprachgesteuerten Roboterauto. Hacks rund um GPS und eine PlayStation 3 runden die Sache ab.
Inhalt
Bei der Reihenfolge der Kapitel wurde versucht – beginnend bei der Darstellung von grundlegenden Informationen – über die Lösung einfacher Aufgaben zu etwas anspruchsvolleren Techniken zu führen.
Der Mikrocontroller ESP32
Die Software erstellen
Die Stromversorgung
Rund um die Hardware
Das Chassis
Der Gleichstrommotor
Kabellose Steuerung über WiFi
Mit Sensoren Hindernisse erkennen
Eine eigene Roboterauto-App
Servo und Lichtsensor
GPS
Accelerometer / Gyroskop
PS3-Controller
Roboterauto-App
Hinweis zur Software
Die Dateien haben das Suffix (.cpp). Grund ist die Entwicklung mit PlatformIO. Mit Copy & Paste sollten sie auch in der Arduino-IDE verwendet werden können.
Whether you are an electronics enthusiast or engineering professional, this book provides the reader with an introduction to the use of the CadSoft’s EAGLE PCB design software package.
EAGLE is a user-friendly, powerful and affordable software package for the efficient design of printed circuit boards. It offers the same power and functionality to all users, at a smaller cost than its competitors. A free version of EAGLE is available to enthusiasts for their own use.
EAGLE can be used on the main computing platforms including: Microsoft Windows (XP, Vista or Windows 7); Linux (based on kernel 2.6 or above) and Apple Mac OS X (Version 10.6 or higher). Any hardware that supports these software platforms will run the EAGLE application.
The book is intended for anyone who wants an introduction to the capabilities of EAGLE. The reader may be a novice at PCB design or a professional wanting to learn about EAGLE, with the intention of migrating from another CAD package.
This book will quickly allow you to:
obtain an overview of the main modules of EAGLE: the schematic editor; layout editor and autorouter in one single interface;
learn to use some of the basic commands in the schematic and layout editor modules of EAGLE;
apply your knowledge of EAGLE commands to a small project;
learn more about some of the advanced concepts of EAGLE and its capabilities;
understand how EAGLE relates to the stages of PCB manufacture;
create a complete project, from design through to PCB fabrication. The project discussed in the book is a popular, proven design from the engineering team at Elektor.
After reading this book while practicing some of the examples, and completing the projects, the reader should feel confident about taking on more challenging endeavors.
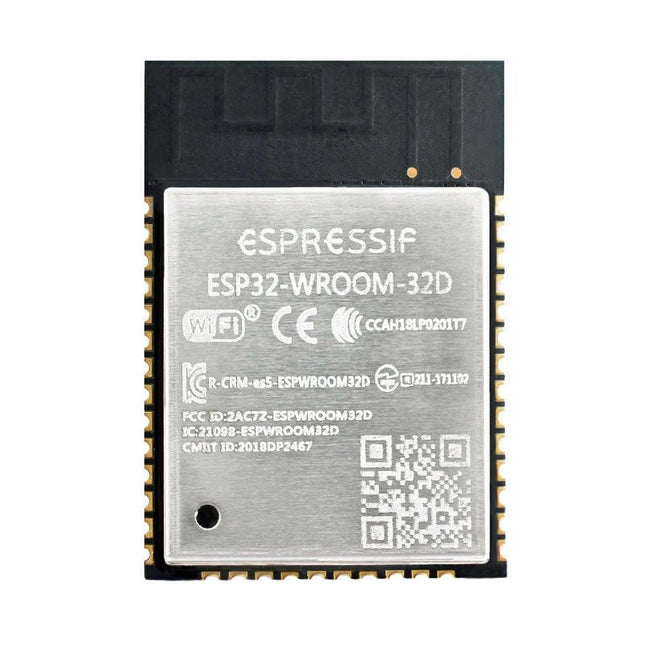
Der ESP32-WROOM-32 misst nur 25,2 x 18 mm und enthält den ESP32-SoC, den Flash-Speicher, präzise diskrete Komponenten und eine PCB-Antenne, um eine hervorragende HF-Leistung in Anwendungen mit begrenztem Platzangebot zu bieten.
ESP32-WROOM-32 ist ein leistungsstarkes, generisches Wi-Fi + BT + BLE-MCU-Modul, das auf eine Vielzahl von Anwendungen abzielt, von Sensornetzwerken mit geringem Stromverbrauch bis hin zu anspruchsvollsten Aufgaben wie Sprachkodierung, Musik-Streaming und MP3-Dekodierung.
Das Herzstück dieses Moduls ist der ESP32-D0WDQ6-Chip. Der eingebettete Chip ist skalierbar und anpassungsfähig. Es gibt zwei CPU-Kerne, die einzeln angesteuert werden können, und die Taktfrequenz ist von 80 MHz bis 240 MHz einstellbar. Der Benutzer kann die CPU auch ausschalten und den stromsparenden Coprozessor nutzen, um die Peripheriegeräte ständig auf Änderungen oder Überschreitungen von Schwellenwerten zu überwachen. ESP32 integriert eine Vielzahl von Peripheriegeräten, die von kapazitiven Berührungssensoren, Hall-Sensoren, SD-Kartenschnittstelle, Ethernet, Hochgeschwindigkeits-SPI, UART, I²S und I²C reichen.
Die Integration von Bluetooth, Bluetooth LE und Wi-Fi sorgt dafür, dass ein breites Anwendungsspektrum angesprochen werden kann und das Modul zukunftssicher ist. Die Verwendung von Wi-Fi ermöglicht eine große physische Reichweite und eine direkte Verbindung zum Internet über einen Wi-Fi-Router, während die Verwendung von Bluetooth es dem Benutzer ermöglicht, bequem eine Verbindung zum Telefon herzustellen oder Niedrigenergie-Beacons zur Erkennung auszusenden.
Der Ruhestrom des ESP32-Chips beträgt weniger als 5 µA und eignet sich daher für batteriebetriebene und tragbare Elektronikanwendungen. ESP32 unterstützt eine Datenrate von bis zu 150 Mbit/s und eine Ausgangsleistung von 20,5 dBm an der Antenne, um die größtmögliche physikalische Reichweite zu gewährleisten. Daher bietet der Chip branchenführende Spezifikationen und die beste Leistung für elektronische Integration, Reichweite, Stromverbrauch und Konnektivität.
Downloads
Datasheet
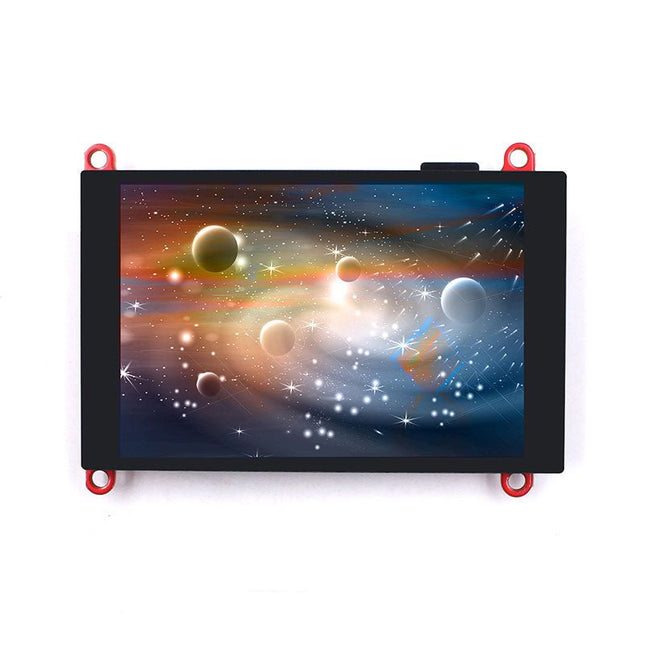
Der ESP32-S3 Parallel TFT bietet nicht nur mehr SRAM und ROM im Vergleich zur S2-Version, sondern ist mit Bluetooth 5.0 auch für Anwendungen wie lokale Überwachung und Steuerung geeignet. Der integrierte LCD-Treiber ILI9488 verwendet 16-Bit-Parallelleitungen zur Kommunikation mit dem ESP32-S3. Die Hauptuhr kann bis zu 20 MHz betragen, was eine ausreichend flüssige Anzeige für Videoanwendungen ermöglicht. Mit diesem Display können Sie mehr IoT-Anzeigeprojekte realisieren. Funktionen Controller: ESP32-S3-WROOM-1, PCB-Antenne, 16 MB Flash, 2 MB PSRAM, ESP32-S3-WROOM-1-N16R2 Kabellos: Wifi & Bluetooth 5.0 LCD: 3,5-Zoll-TFT-LCD Auflösung: 480x320 Farbe: RGB LCD-Schnittstelle: 16-Bit-Parallel LCD-Treiber: ILI9488 Touch-Panel: Kapazitiv Touch-Panel-Treiber: FT6236 USB: Dual USB Typ-C (einer für USB-zu-UART und einer für native USB) UART zu UART-Chip: CP2104 Stromversorgung: USB Typ-C 5,0 V (4,0 V~5,25 V) Taste: Flash-Taste und Reset-Taste Mabee-Schnittstelle: 1x I²C, 1x GPIO Hintergrundbeleuchtungsregler: Ja MicroSD: Ja Arduino-Unterstützung: Ja Type-C Power Delivery: Nicht unterstützt Betriebstemperatur: -40℃ bis +85℃ Abmessungen: 66 x 84,3 x 12 mm Gewicht: 52 g Downloads ESP32-S3 Datenblatt GitHub Wiki LVGL Demo-Code
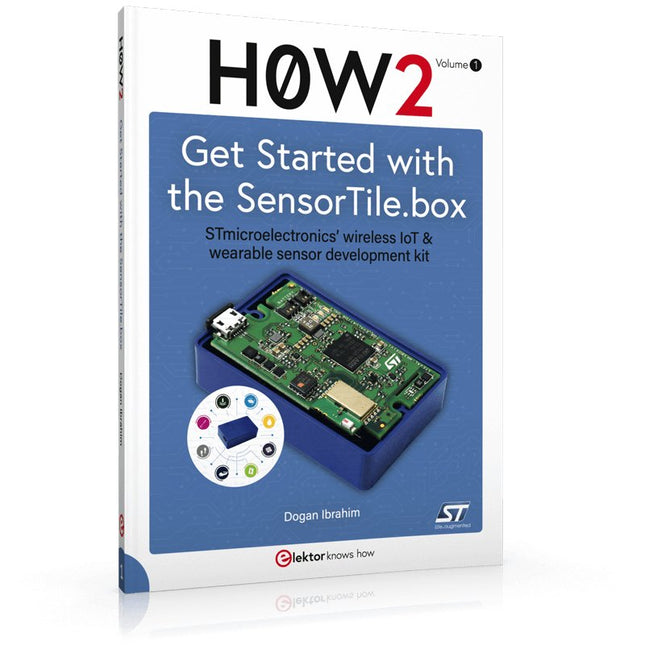
STmicroelectronics’ wireless IoT & wearable sensor development kit
‘SensorTile.box’ is a portable multi-sensor circuit board housed in a plastic box and developed by STMicroelectronics. It is equipped with a high-performance 32-bit ARM Cortex-M4 processor with DSP and FPU, and various sensor modules, such as accelerometer, gyroscope, temperature sensor, humidity sensor, atmospheric pressure sensor, microphone, and so on. SensorTile.box is ready to use with wireless IoT and Bluetooth connectivity that can easily be used with an iOS or Android compatible smartphone, regardless of the level of expertise of the users. SensorTile.box is shipped with a long-life battery and all the user has to do is connect the battery to the circuit to start using the box.
The SensorTile.box can be operated in three modes: Basic mode, Expert mode, and Pro mode. Basic mode is the easiest way of using the box since it is pre-loaded with demo apps and all the user has to do is choose the required apps and display or plot the measured data on a smartphone using an app called STE BLE Sensor. In Expert mode users can develop simple apps using a graphical wizard provided with the STE BLE Sensor. Pro mode is the most complex mode allowing users to develop programs and upload them to the SensorTile.box.
This book is an introduction to the SensorTile.box and includes the following:
Brief specifications of the SensorTile.box; description of how to install the STE BLE Sensor app on an iOS or Android compatible smartphone required to communicate with the box.
Operation of the SensorTile.box in Basic mode is described in detail by going through all of the pre-loaded demo apps, explaining how to run these apps through a smartphone.
An introduction to the Expert mode with many example apps developed and explained in detail enabling users to develop their own apps in this mode. Again, the STE BLE Sensor app is used on the smartphone to communicate with the SensorTile.box and to run the developed apps.
The book then describes in detail how to upload the sensor data to the cloud. This is an important topic since it allows the sensor measurements to be accessed from anywhere with an Internet connection, at any time.
Finally, Pro mode is described in detail where more experienced people can use the SensorTile.box to develop, debug, and test their own apps using the STM32 open development environment (STM32 ODE). The Chapter explains how to upload the developed firmware to the SensorTile.box using several methods. Additionally, the installation and use of the Unicleo-GUI package is described with reference to the SensorTile.box. This PC software package enables all of the SensorTile.box sensor measurements to be displayed or plotted in real time on the PC.
Vollständiger ESP32-Mikrocontroller-Lernkurs mit speziell entwickelter MCU-Erweiterungsplatine, praxisorientierten Projekten und einem umfassenden Online-Guide – ideal, um Hardware, Programmierung und Konnektivität Schritt für Schritt zu erlernen.
Praktische Einführung in eingebettete Systeme mit dem ESP32
Dieser Kurs richtet sich an Einsteiger in die Welt der eingebetteten Systeme, die einen strukturierten, beispielorientierten Einstieg suchen. Falls Sie sich bereits mit allgemeiner Elektronik oder Arduino-basierten Materialien beschäftigt haben, diese aber als zu allgemein oder zu wenig praxisnah empfunden haben, bietet dieser Kurs eine fokussiertere Alternative.
Mit dem "ESP32 by Example Kit" (EEK) – einem kompakten und kostengünstigen Komponentensatz mit LEDs, Sensoren, einem OLED-Display und einem Bewegungsprozessor – arbeiten Sie während des gesamten Kurses mit einem einheitlichen Hardware-Setup. Nach dem Zusammenbau bleibt das EEK weitgehend unverändert, sodass Sie sich ganz auf das Lernen und Experimentieren konzentrieren können, ohne ständig neu konfigurieren zu müssen.
Themen:
Verstehen und Programmieren des ESP32-Mikrocontrollers
Programmieren und Ausführen von Code mit der Arduino IIDE
Erkunden von cyber-physischen Systemen, abschließend zur grundlegenden Drohnensteuerung
Vorkenntnisse in Arduino oder Embedded-Entwicklung sind nicht erforderlich. Jeder Abschnitt enthält praktische Beispiele und Miniprojekte, die die wichtigsten Konzepte festigen und zu einer tiefergehenden Auseinandersetzung anregen. Am Ende des Kurses können Sie die Beispiele des Buches nicht nur nachvollziehen, sondern auch mit eigenen Ideen und Anwendungen erweitern.
Ob Sie sich für Embedded-Programmierung, interaktive Systeme oder die Grundlagen der Drohnensteuerung interessieren – dieser Kurs bietet einen klaren und praxisorientierten Einstieg.
Was Sie lernen werden
Eingebettete Programmierung mit dem ESP32 mithilfe der Arduino IDE
Echtzeit-Sensoreingabe und -steuerung über Tasten, LEDs und Displays
Gestenbasierte Interaktion mit dem Bewegungssensor MPU6050
Integration von Bluetooth-Gamepads und Drohnensteuerungssimulation
WLAN- und UDP-Netzwerke, lokale Webserver und NTP
MQTT-Kommunikation mit Cloud-Plattformen wie AWS und Arduino IoT
Aufbau und Bereitstellung voll funktionsfähiger IoT-Systeme
Perfekt für
Studierende und Autodidakten, die sich mit eingebetteten Systemen beschäftigen
Bastler und IoT-Begeisterte, die ihre Hardwarekenntnisse verbessern möchten
Lehrkräfte und Dozenten, die nach sofort einsetzbarem Unterrichtsmaterial suchen
Entwickler, die über die Grundlagen von Raspberry Pi oder Arduino hinausgehen möchten
Support, wenn Sie ihn brauchen
Zugang zu Kursleitern über die Elektor Academy
Hilfreiche Community-Foren und wichtige Dokumentation
Was ist in der Box (Kurs)?
Neues 384-seitiges Buch: "ESP32 by Example" (Wert: 45 €)
Elektor ESP32 by Example Kit (EEK): Mikrocontroller-Erweiterungsplatine mit 6 LEDs und 6 Tasten + OLED-Display, MPU6050 3-Achsen Beschleunigungsmesser und Gyroskop-Modul (Wert: 40 €)
Adafruit HUZZAH32 – ESP32 Feather MCU Board (Wert: 30 €)
ESP32 Cheap Yellow Display Board (Wert: 25 €)
DHT11 Feuchtigkeitssensor & Temperatursensor
Breadboard
Jumperkabel
USB-C-Kabel
Zugang zum vollständigen Kurs auf der Elektor Academy Pro Lernplattform
Lehrvideos
Herunterladbare Arduino-Projektdateien für jedes Modul
Lernmaterial (dieser Box)
▶ Klicken Sie hier zum Öffnen
Module 1 – Getting Started with the ESP32 & EEK
Module 2 – Digital Output – LEDs and GPIO
Module 3 – Switches and Input Handling
Module 4 – EEK and PWM
Module 5 – OLED and Display Output
Module 6 – Motion Sensing with the MPU6050
Module 7 – Capstone Project (EEK in Action)
Module 8 – WiFi and Web Control with ESP32
Module 9 – Cloud Concepts using EEK
Module 10 – Hands-on: Arduino IoT Cloud and EEK
Module 11 – BlueTooth and EEK GamePad Integration
Module 12 – Why Drones?
Module 13 – Drone Simulator Concepts
Module 14 – Simple Drone Flight Control
Module 15 – Real-Time Drone Flight Control
Module 16 – Drone Control Mini-Projects
Module 17 – Middleware and Python Scripting
Module 18 – Python Applications for Drone Control
Module 19 – Capstone EEK Control Project and Presentation
Über den Autor
Dr. Jim Solderitsch ist Dozent, Softwarearchitekt, Systementwickler und Cybersicherheitsforscher mit Schwerpunkt auf cyber-physischen Systemen. Derzeit ist er als Lehrbeauftragter für Informatik an der Villanova University in Pennsylvania tätig.
Was ist Elektor Academy Pro?
Elektor Academy Pro bietet maßgeschneiderte Lernlösungen für Fachkräfte, Ingenieurteams und technische Experten in der Elektronik- und Embedded-Systems-Branche. Sie unterstützt Einzelpersonen und Organisationen dabei, ihr praktisches Know-how zu vertiefen, ihre Skills gezielt auszubauen und dank hochwertiger Inhalte und praxisnaher Tools stets einen Schritt voraus zu sein.
Von realen Projekten und spezialisierten Kursen bis hin zu fundierten technischen Insights – Elektor versetzt Ingenieure in die Lage, aktuelle Herausforderungen der Branche erfolgreich zu meistern. Unser Bildungsportfolio umfasst Academy-Bücher, Pro-Boxen, Webinare, Konferenzen und B2B-Fachmagazine – alles mit Blick auf praxisnahe Weiterbildung und berufliches Wachstum.
Ob Ingenieur, F&E-Spezialist oder technischer Entscheider: Elektor Academy Pro schlägt die Brücke zwischen Theorie und Praxis – und hilft Ihnen, neue Technologien zu beherrschen und Innovationen in Ihrem Unternehmen gezielt voranzutreiben.