Suchergebnisse für "pican"
-

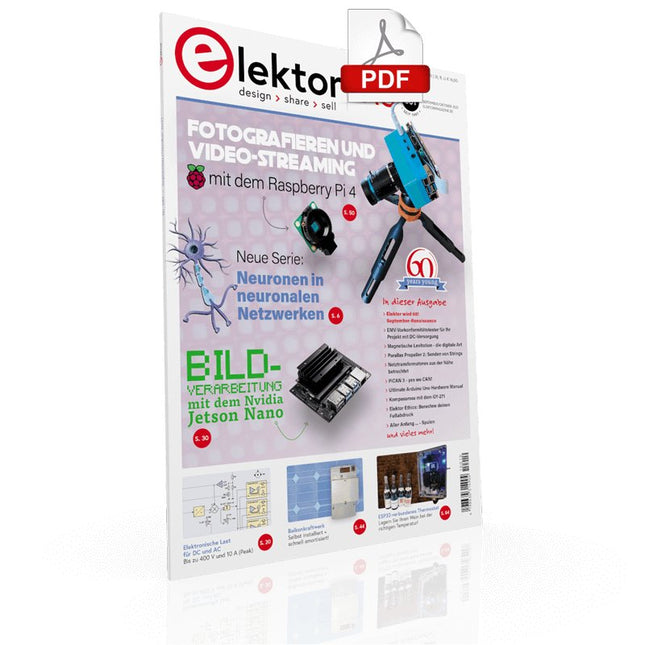
Elektor Digital Elektor 09-10/2021 (PDF)
DIE NEURONEN IN NEURONALEN NETZWERKEN VERSTEHEN Teil 1. Künstliche Neuronen EMV-VOR-KONFORMITÄTSTESTER FÜR IHR PROJEKT MIT DC-VERSORGUNG Teil 1: Was ist eine Netznachbildung? ELEKTRONISCHE LAST FÜR DC UND AC Bis zu 400 V und 10 A ALLER ANFANG … ist gar nicht schwer! NVIDIA JETSON NANO - BILDVERARBEITUNG FÜR EINSTEIGER Teil 1: Hard- und Software im Überblick NETZTRANSFORMATOREN AUS DER NÄHE BETRACHTET Wie verhalten Sie sich beim Ein- und Ausschalten? PICAN 3 – JA, DAS KÖNNEN WIR! CAN-Zusatzboard für Raspberry Pi 4 BALKONKRAFTWERK Selbst installiert = schnell amortisiert! FOTOGRAFIEREN UND VIDEO-STREAMING MIT DEM RASPBERRY PI 4 Die High-Quality-Kamera des Raspberry Pi in der Praxis VERWENDUNG VON DISPLAYS IN RASPBERRY-PI-PROJEKTEN Beispiel-Kapitel: Organische Leuchtdioden-Displays (OLED) PARALLAX-PROPELLER 2 Teil 4: Senden von Strings 60 JAHRE ELEKTOR: SEPTEMBER-RENAISSANCE Der Plan, der Plan, ein leerer Wahn ... ZUTRITT FÜR UNBEFUGE VERBOTEN ERWÜNSCHT In Friesland, wo die Röhren blühen ... HYBRIDE SCHALTUNGEN Bemerkenswerte Bauteile KOMPASSROSE MIT DEM GY-271 Oder, warum man mit dem Handy aufpassen muss… KENNEN SIE IHREN FUSSABDRUCK Berechnen Sie die CO2-Bilanz Ihrer Elektronik ESP32-VERBUNDENES THERMOSTAT Lagern Sie Ihren Wein bei der richtigen Temperatur! MAGNETISCHE LEVITATION DIE DIGITALE ART Ein ESP32 Pico ersetzt den analogen Komparator ULTIMATE ARDUINO UNO HARDWAREHANDBUCH Ein beispielhaftes Kapitel: Bootloader für den Haupt-Mikrocontroller MICROPYTHON FÜR DEN ESP32 UND CO. Teil 2. Matrix-Displays einfach ansteuern MADMACHINE SWIFTIO-KARTE Moderne Sprache trifft moderne Hardware AUS DEM LEBEN GEGRIFFEN Eine elektronische On/Off-Beziehung HEXADOKUS Sudoku für Elektroniker
€ 11,90
-

Pimoroni Picade X HAT USB-C
Verwandeln Sie Ihren Raspberry Pi in eine Retro-Spielekonsole! Picade X HAT verfügt über Joystick- und Tasteneingänge, einen 3-W-I²S-DAC/Verstärker und einen Soft-Power-Schalter. Dieser HAT verfügt über die gleichen großartigen Funktionen wie der ursprüngliche Picade HAT, verfügt jedoch jetzt über unkomplizierte Dupont-Buchsen zum Anschließen Ihres Joysticks und Ihrer Tasten. Einfach Picade zum Fahrer schalten! Es ist ideal für den Bau Ihrer eigenen DIY-Arcade-Schränke oder für Schnittstellen, die große, farbenfrohe Tasten und Sound benötigen. Merkmale I²S-Audio-DAC mit 3-W-Verstärker (Mono) und Steckanschlüssen Sicheres Ein-/Aus-System mit taktilem Netzschalter und LED USB-C-Anschluss für die Stromversorgung (versorgt Ihren Pi mit Strom) 4-Wege-Digital-Joystick-Eingänge 6x Player-Tasteneingänge 4x Utility-Tasteneingänge 1x Soft-Power-Schaltereingang 1x Power-LED-Ausgang Plasma-Tastenanschluss Breakout-Pins für Strom, I²C und 2 zusätzliche Tasten Pinbelegung des Picade X HAT Kompatibel mit allen 40-Pin-Raspberry-Pi-Modellen Der I²S-DAC mischt beide Kanäle des digitalen Audios vom Raspberry Pi zu einem einzigen Mono-Ausgang. Dieses wird dann durch einen 3-W-Verstärker geleitet, um einen angeschlossenen Lautsprecher mit Strom zu versorgen. Das Board verfügt außerdem über einen Soft-Power-Schalter, mit dem Sie Ihren Pi sicher ein- und ausschalten können, ohne dass das Risiko einer Beschädigung der SD-Karte besteht. Tippen Sie zum Starten auf die verbundene Taste und halten Sie sie 3 Sekunden lang gedrückt, um das Gerät vollständig herunterzufahren und die Stromversorgung zu trennen. Software Installation Öffnen Sie ein Terminal und geben Sie curl https://get.pimoroni.com/picadehat | bash ein curl https://get.pimoroni.com/picadehat | bash , um das Installationsprogramm auszuführen. Wenn Sie nicht dazu aufgefordert werden, müssen Sie nach Abschluss der Installation einen Neustart durchführen. Die Software unterstützt Raspbian Wheezy nicht Anmerkungen Wenn die USB-C-Stromversorgung über den Picade
€ 24,95€ 12,50
Mitglieder identisch
-

Elektor Digital PIC Cookbook for Virtual Instrumentation (E-book)
The software simulation of gauges, control-knobs, meters and indicators which behave just like real hardware components on a PC’s screen is known as virtual instrumentation. In this book, the Delphi program is used to create these mimics and PIC based external sensors are connected via a USB/RS232 converter communication link to a PC. Detailed case studies in this Book include a virtual compass displayed on the PC’s screen, a virtual digital storage oscilloscope, virtual -50 to +125 degree C thermometer, and FFT sound analyser, a joystick mouse and many examples detailing virtual instrumentation Delphi components. Arizona’s embedded microcontrollers – the PIC's are used in the projects and include PIC16F84A, PIC16C71, DSPIC30F6012A, PIC16F877, PIC12F629 and the PIC16F887. Much use is made of Microchip’s 44 pin development board (a virtual instrument ‘engine)’, equipped with a PIC16F887 with an onboard potentiometer in conjunction with the PIC’s ADC to simulate the generation of a variable voltage from a sensor/transducer, a UART to enable PC RS232 communications and a bank of 8 LED's to monitor received data is also equipped with an ISP connector to which the ‘PICKIT 2’ programmer may easily be connected. Full source code examples are provided both for several different PIC’s, both in assembler and C, together with the Pascal code for the Delphi programs which use different 3rd party Delphi virtual components.
€ 19,95
Mitglieder € 15,96
-

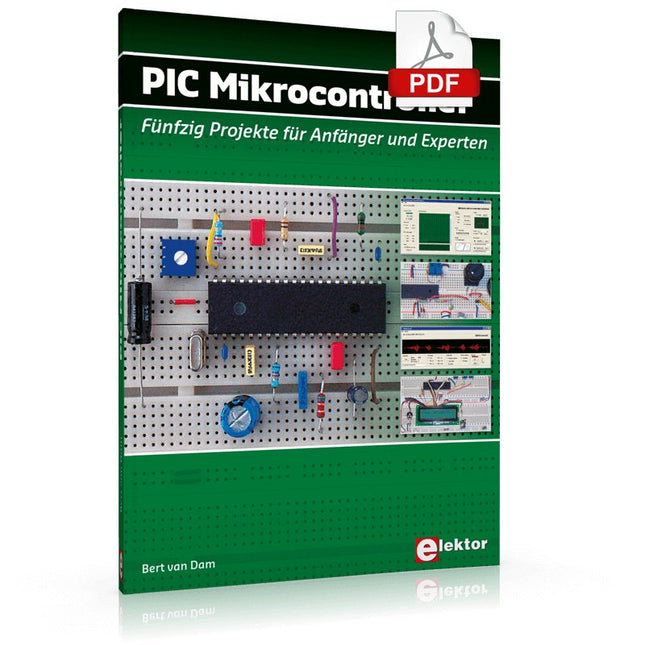
Elektor Digital PIC-Mikrocontroller (E-book)
In diesem Buch geht es um spannende und zugleich lehrreiche Anwendungen mit PIC-Mikrocontrollern. Mit dabei sind unter anderem ein „Stiller Alarm“, ein Personen- Sensor, ein Ultraschall-Radarsystem, eine Digitaluhr, ein VU-Meter, ein RGB-Fader, ein serielles Datennetz und eine Laufschrift-Anzeige.Sie können dieses Buch als Projektgrundlage nutzen, um die Projekte Ihrer Wahl aufzubauen und zu erproben. Alle Projekte sind uneingeschränkt praxistauglich. Die präzisen Beschreibungen, Schaltungen und Fotos der Versuchsaufbauten auf Steckplatten machen das Aufbauen und Ausprobieren zum spannenden Vergnügen.Sie können mit diesem Buch auch Ihr Wissen erweitern. Zu jedem Projekt wird der technische Hintergrund erläutert. Es wird erklärt, weshalb wir den beschriebenen Weg gewählt haben, um das Projekt zu realisieren. Auch die Inhalte von Datenblättern werden erläutert, so dass die Eigenschaften der Mikrocontroller nicht im Verborgenen bleiben. Sie können die Projekte ausbauen, erweitern, kombinieren und anpassen.Bei den in den Projekten eingesetzten Mikrocontroller-Typen handelt es sich um PIC12F675, PIC16F628, PIC16F876A und insbesondere PIC16F877. Es wird auch erklärt, wie Programme – geschrieben für einen bestimmten PIC-Typ – an andere PIC-Typen angepasst werden können.Sämtliche Software, die für die Durchführung der Projekte erforderlich ist, kann kostenlos aus dem Internet heruntergeladen werden. Das gilt auch für die Open-Source-Sprache JAL. Diese leistungsstarke, leicht erlernbare Programmiersprache ist sowohl im professionellen Bereich als auch bei nicht professionellen Entwicklern weltweit verbreitet.Dieses Buch ist auch ein gutes Nachschlagewerk. Die Beschreibung aller Elemente der Programmiersprache JAL und der von uns verwendeten Erweiterungsbibliotheken ist einzigartig. Das ausführliche Stichwortverzeichnis weist den Weg zu dem Projekt, das Sie als Grundlage Ihrer eigenen Entwicklung nutzen können. Selbst wenn Sie alle Projekte erprobt haben und Ihr Wissen über die PIC-Mikrocontroller-Familie stark gewachsen ist, wird Ihnen dieses Buch noch nützlich sein.
€ 44,80
Mitglieder € 35,84
-

Elektor Digital Node-RED and Raspberry Pi Pico W (E-book)
From basics to flows for sensors, automation, motors, MQTT, and cloud services This book is a learning guide and a reference. Use it to learn Node-RED, Raspberry Pi Pico W, and MicroPython, and add these state-of-the-art tools to your technology toolkit. It will introduce you to virtual machines, Docker, and MySQL in support of IoT projects based on Node-RED and the Raspberry Pi Pico W. This book combines several elements into a platform that powers the development of modern Internet of Things applications. These elements are a flow-based server, a WiFi-enabled microcontroller, a high-level programming language, and a deployment technology. Combining these elements gives you the tools you need to create automation systems at any scale. From home automation to industrial automation, this book will help you get started. Node-RED is an open-source flow-based development tool that makes it easy to wire together devices, APIs, and online services. Drag and drop nodes to create a flowchart that turns on your lights at sunset or sends you an email when a sensor detects movement. Raspberry Pi Pico W is a version of the Raspberry Pi Pico with added 802.11n Wi-Fi capability. It is an ideal device for physical computing tasks and an excellent match to the Node-RED. Quick book facts Project-based learning approach. Assumes no prior knowledge of flow-based programming tools. Learn to use essential infrastructure tools in your projects, such as virtual machines, Docker, MySQL and useful web APIs such as Google Sheets and OpenWeatherMap. Dozens of mini-projects supported by photographs, wiring schematics, and source code. Get these from the book GitHub repository. Step-by-step instructions on everything. All experiments are based on the Raspberry Pi Pico W. A Wi-Fi network is required for all projects. Hardware (including the Raspberry Pi Pico W) is available as a kit. Downloads GitHub
€ 39,95
Mitglieder € 31,96
-

Elektor Publishing Node-RED and Raspberry Pi Pico W
From basics to flows for sensors, automation, motors, MQTT, and cloud services This book is a learning guide and a reference. Use it to learn Node-RED, Raspberry Pi Pico W, and MicroPython, and add these state-of-the-art tools to your technology toolkit. It will introduce you to virtual machines, Docker, and MySQL in support of IoT projects based on Node-RED and the Raspberry Pi Pico W. This book combines several elements into a platform that powers the development of modern Internet of Things applications. These elements are a flow-based server, a WiFi-enabled microcontroller, a high-level programming language, and a deployment technology. Combining these elements gives you the tools you need to create automation systems at any scale. From home automation to industrial automation, this book will help you get started. Node-RED is an open-source flow-based development tool that makes it easy to wire together devices, APIs, and online services. Drag and drop nodes to create a flowchart that turns on your lights at sunset or sends you an email when a sensor detects movement. Raspberry Pi Pico W is a version of the Raspberry Pi Pico with added 802.11n Wi-Fi capability. It is an ideal device for physical computing tasks and an excellent match to the Node-RED. Quick book facts Project-based learning approach. Assumes no prior knowledge of flow-based programming tools. Learn to use essential infrastructure tools in your projects, such as virtual machines, Docker, MySQL and useful web APIs such as Google Sheets and OpenWeatherMap. Dozens of mini-projects supported by photographs, wiring schematics, and source code. Get these from the book GitHub repository. Step-by-step instructions on everything. All experiments are based on the Raspberry Pi Pico W. A Wi-Fi network is required for all projects. Hardware (including the Raspberry Pi Pico W) is available as a kit. Downloads GitHub
€ 49,95
Mitglieder € 44,96


