Suchergebnisse für "franzis OR lernpaket OR arduino OR projects"
-
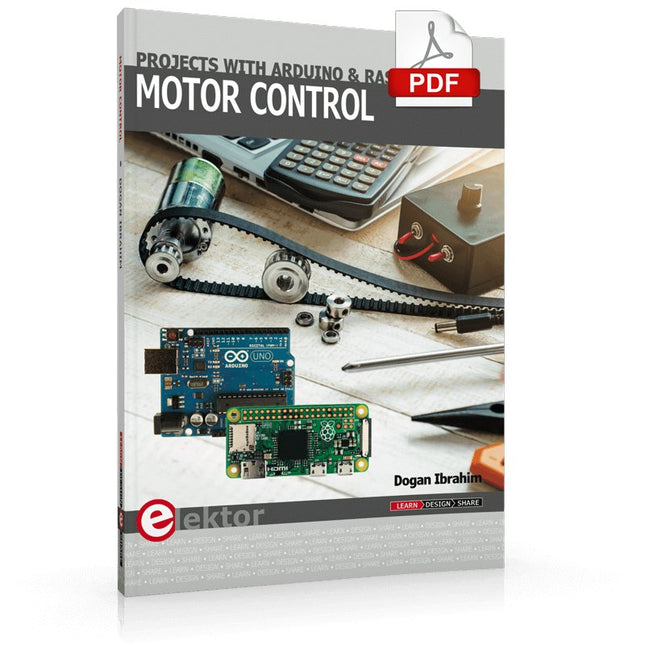
Elektor Digital Motor Control - Projects with Arduino & Raspberry Pi (E-book)
This book is about DC electric motors and their use in Arduino and Raspberry Pi Zero W based projects. The book includes many tested and working projects where each project has the following sub-headings: Title of the project Description of the project Block diagram Circuit diagram Project assembly Complete program listing of the project Full description of the program The projects in the book cover the standard DC motors, stepper motors, servo motors, and mobile robots. The book is aimed at students, hobbyists, and anyone else interested in developing microcontroller based projects using the Arduino Uno or the Raspberry Pi Zero W. One of the nice features of this book is that it gives complete projects for remote control of a mobile robot from a mobile phone, using the Arduino Uno as well as the Raspberry Pi Zero W development boards. These projects are developed using Wi-Fi as well as the Bluetooth connectivity with the mobile phone. Readers should be able to move a robot forward, reverse, turn left, or turn right by sending simple commands from a mobile phone. Full program listings of all the projects as well as the detailed program descriptions are given in the book. Users should be able to use the projects as they are presented, or modify them to suit to their own needs.
€ 29,95
Mitglieder: € 23,96
-
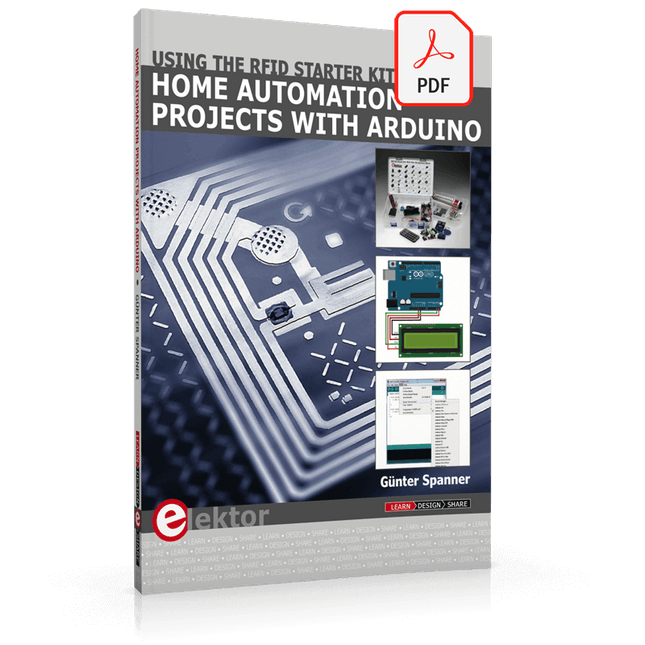
Elektor Digital Home Automation Projects with Arduino (E-book)
Using the RFID Starter Kit An Arduino board has now become ‘the’ basic component in the maker community. No longer is an introduction to the world of microcontrollers the preserve of the expert. When it comes to expanding the capabilities of the basic Arduino board however, the developer is still largely on his own. If you really want to build some innovative projects it’s often necessary to get down to component level. This can present many beginners with major problems. That is exactly where this book begins. This book explains how a wide variety of practical projects can be built using items supplied in a single kit together with the Arduino board. This kit, called the 'RFID Starter Kit for Arduino' (SKU 17240) is not just limited to RFID applications but contains more than 30 components, devices and modules covering all areas of modern electronics. In addition to more simple components such as LEDs and resistors there are also complex and sophisticated modules that employ the latest technology such as: A humidity sensor A multicolor LED A large LED matrix with 64 points of light A 4-character 7-segment LED display An infra red remote-controller unit A complete LC-display module A servo A stepper motor and controller module A complete RFID reader module and security tag On top of that you will get to build precise digital thermometers, hygrometers, exposure meters and various alarm systems. There are also practical devices and applications such as a fully automatic rain sensor, a sound-controlled remote control system, a multifunctional weather station and so much more. All of the projects described can be built using the components supplied in the Elektor kit.
€ 29,95
Mitglieder: € 23,96
-

Elektor Digital Arduino – Circuits & Projects Guide (E-book)
Two reasons can be identified for the immense success of the Arduino platform. First, the cheap, ready to go processor board greatly simplifies the introduction to hardware. The second success factor is the free and open-source programming suite that does not require an installation procedure. Simple entry-level examples ensure rapid successes. Complex selection procedures for parameters like the microprocessor version or interface settings are not required. The first sample programs can be uploaded to the Arduino board, and tested, in a matter of minutes. The Arduino user is supported by an array of software libraries. However, the daily increasing volume of libraries poses initial problems to the newcomer, and the way ahead may be uncertain after a few entry-level examples. In many cases, detailed descriptions are missing, and poorly described projects tend to confuse rather than elucidate. Clear guidance and a single motto are missing, usually owing to the projects having been created by several different persons—all with different aims in mind. This book represents a different approach. All projects are presented in a systematical manner, guiding into various theme areas. In the coverage of must-know theory great attention is given to practical directions users can absorb, including essential programming techniques like A/D conversion, timers and interrupts—all contained in the hands-on projects. In this way readers of the book create running lights, a wakeup light, fully functional voltmeters, precision digital thermometers, clocks of many varieties, reaction speed meters, or mouse controlled robotic arms. While actively working on these projects the reader gets to truly comprehend and master the basics of the underlying controller technology.
€ 29,95
Mitglieder: € 23,96
-

Elektor Digital Arduino Uno – 45 Projects for Beginners and Experts (E-book)
This book covers a series of exciting and fun projects for the Arduino, such as a silent alarm, people sensor, light sensor, motor control, internet and wireless control (using a radio link). Contrary to many free projects on the internet all projects in this book have been extensively tested and are guaranteed to work! You can use it as a projects book and build more than 45 projects for your own use. The clear explanations, schematics, and pictures of each project make this a fun activity. The pictures are taken of a working project, so you know for sure that they are correct. You can combine the projects in this book to make your own projects. To facilitate this, clear explanations are provided on how the project works and why it has been designed the way it has That way you will learn a lot about the project and the parts used, knowledge that you can use in your own projects. Apart from that, the book can be used as a reference guide. Using the index, you can easily locate projects that serve as examples for the C++ commands and Arduino functionality. Even after you’ve built all the projects in this book, it will still be a valuable reference guide to keep next to your PC.
€ 29,95
Mitglieder: € 23,96
-

Elektor Digital Controller Area Network Projects with ARM and Arduino (E-book)
This book details the use of the ARM Cortex-M family of processors and the Arduino Uno in practical CAN bus based projects. Inside, it gives a detailed introduction to the architecture of the Cortex-M family whilst providing examples of popular hardware and software development kits. Using these kits helps to simplify the embedded design cycle considerably and makes it easier to develop, debug, and test a CAN bus based project. The architecture of the highly popular ARM Cortex-M processor STM32F407VGT6 is described at a high level by considering its various modules. In addition, the use of the mikroC Pro for ARM and Arduino Uno CAN bus library of functions are described in detail. This book is written for students, for practising engineers, for hobbyists, and for everyone else who may need to learn more about the CAN bus and its applications. The book assumes that the reader has some knowledge of basic electronics. Knowledge of the C programming language will be useful in later chapters of the book, and familiarity with at least one microcontroller will be an advantage, especially if the reader intends to develop microcontroller based projects using CAN bus. The book should be useful source of reference to anyone interested in finding an answer to one or more of the following questions: What bus systems are available for the automotive industry? What are the principles of the CAN bus? What types of frames (or data packets) are available in a CAN bus system? How can errors be detected in a CAN bus system and how reliable is a CAN bus system? What types of CAN bus controllers are there? What are the advantages of the ARM Cortex-M microcontrollers? How can one create a CAN bus project using an ARM microcontroller? How can one create a CAN bus project using an Arduino microcontroller? How can one monitor data on the CAN bus?
€ 32,95
Mitglieder: € 26,36
-
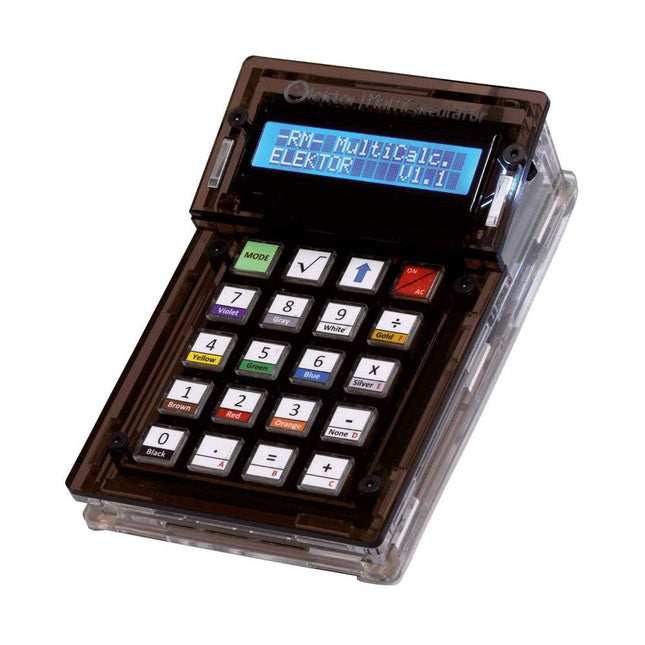
Elektor Labs Elektor Arduino MultiCalculator
Das Elektor MultiCalculator Kit ist ein Arduino-basierter Multifunktionsrechner, der über einfache Berechnungen hinausgeht. Es bietet 22 Funktionen, darunter Licht- und Temperaturmessung, Differenztemperaturanalyse und NEC-IR-Fernbedienungsdekodierung. Der Elektor MultiCalculator ist ein praktisches Werkzeug für den Einsatz in Ihren Projekten oder für Bildungszwecke. Das Kit enthält ein Pro Mini-Modul als Recheneinheit. Die Platine lässt sich mithilfe von Durchgangslochkomponenten einfach zusammenbauen. Das Gehäuse besteht aus 11 Acrylplatten und Montagematerial für eine einfache Montage. Darüber hinaus ist das Gerät mit einem 16x2 alphanumerischen LCD, 20 Tasten und Temperatursensoren ausgestattet. Der Elektor MultiCalculator ist über einen 6-Wege-PCB-Header mit der Arduino-IDE programmierbar. Der Rechner kann mit einem Programmieradapter programmiert werden und wird über USB-C mit Strom versorgt. Betriebsmodi Rechner 4-Ring-Widerstandscode 5-Ring-Widerstandscode Konvertierung von Dezimalzahlen in Hexadezimalzahlen und Zeichen (ASCII) Konvertierung von Hexadezimalzahlen in Dezimalzahlen und Zeichen (ASCII) Dezimal-zu-Binär- und Zeichen-Konvertierung (ASCII) Binär-zu-Dezimal- und Hexadezimal-Konvertierung Berechnung von Hz, nF und kapazitiver Reaktanz (XC) Hz, µH, Berechnung der induktiven Reaktanz (XL) Widerstandsberechnung zweier parallel geschalteter Widerstände Widerstandsberechnung zweier in Reihe geschalteter Widerstände Berechnung des unbekannten Parallelwiderstands Temperaturmessung Differenztemperaturmessung T1&T2 und Delta (δ) Lichtmessung Stoppuhr mit Rundenzeitfunktion Artikelzähler NEC IR-Fernbedienungsdekodierung AWG-Umwandlung (American Wire Gauge) Würfeln Startnachricht personalisieren Temperaturkalibrierung Technische Daten Menüsprachen: Englisch, Niederländisch Abmessungen: 92 x 138 x 40 mm Bauzeit: ca. 5 Stunden Lieferumfang Leiterplatten- und Durchgangslochkomponenten Vorgeschnittene Acrylplatten mit allen mechanischen Teilen Pro Mini Mikrocontroller-Modul (ATmega328/5 V/16 MHz) Programmieradapter Wasserdichte Temperatursensoren USB-C Kabel Downloads Software
€ 49,95€ 39,95
Bestpreis
-

Elektor Academy Pro Arduino (Programmierkurs)
Dieser komplette Mikrocontroller-Programmierkurs auf Basis des Arduino Uno umfasst ein Lehrbuch, ein Komponenten-Kit, praxisnahe Projekte sowie einen umfassenden Online-Kurs mit Simulationen. Er eignet sich ideal für das schrittweise Erlernen der Embedded-Programmierung mit Arduino anhand eines praktischen, hands-on Ansatzes. Eine praxisnahe Einführung in Embedded Systems mit dem Arduino Uno Dieser Kurs richtet sich an Personen ohne Vorkenntnisse im Bereich Embedded Systems, die einen strukturierten und beispielbasierten Einstieg suchen. Ein Kit bestehend aus LEDs und Widerständen, Schaltern, Sensoren und Aktoren, Displays, einem Breadboard und Kabeln sowie weiteren Komponenten ist enthalten. Diese werden im Kurs verwendet, um Beispielanwendungen zu veranschaulichen. Vorkenntnisse mit Arduino oder Embedded-Entwicklung sind nicht erforderlich. Jeder Abschnitt enthält praktische Beispiele und Mini-Projekte, die wichtige Konzepte festigen und zur weiteren Vertiefung anregen. Am Ende des Kurses werden Sie nicht nur in der Lage sein, die Beispiele nachzuvollziehen, sondern auch eigene Ideen und Anwendungen umzusetzen. Was werden Sie lernen? Mikrocontroller-Programmierung mit Arduino unter Verwendung des Uno R3 Boards Arbeiten mit digitalen Ein- und Ausgängen, Auslesen von Tastern und Encodern, Steuern von LEDs und Relais Auslesen analoger Eingänge, Spannungen und analoger Sensoren Erzeugung analoger Ausgangssignale und PWM Verwendung serieller Kommunikation wie UART, I²C und SPI zur Steuerung von Displays und zum Auslesen digitaler Sensoren und SD-Karten Zeitmanagement Arbeiten mit Interrupts Echtzeit-Sensordatenerfassung und Steuerung über Taster, LEDs und Displays Steuerung von Aktoren wie Relais und Servomotoren Für wen ist dieser Kurs geeignet? Studierende und Selbstlerner im Bereich Embedded Systems Makers und IoT-Enthusiasten, die ihre Hardware-Kenntnisse verbessern möchten Lehrkräfte und Trainer, die sofort einsetzbares Unterrichtsmaterial suchen Was ist im Lieferumfang enthalten? Zugang zum vollständigen Kurs auf der Elektor Academy Pro-Lernplattform Uno R3 Mikrocontroller-Board (+ USB-Kabel) Buch: Programming Microcontrollers in C/C++ Using Arduino Downloadbare Projektdateien für jedes Modul Komponenten-Set: 2× LED, rot, 5 mm LED, grün, 5 mm 3× Widerstand, 470 Ω, 0,25 W LDR Potentiometer, 10 kΩ, linear Taster Drehencoder-Modul Relaismodul DHT22 Feuchtigkeits- und Temperatursensor TM1637-kompatibles 4-stelliges 7-Segment-Display MPU-6050 IMU mit Stiftleisten SSD1306-kompatibles I²C OLED-Display Micro-SD-Kartenadapter mit Stiftleiste Buzzer SG90 Mikro-Servo ILI9341-kompatibles SPI 240×320 TFT-Display 20× Jumperkabel Breadboard Alle Programmierkurse (und Unterschiede im Inhalt) Kurs Arduino Raspberry Pi Pico with Arduino C/C++ ESP32 with Arduino C/C++ Raspberry Pi Pico with MicroPython ESP32 with MicroPython Online-Kurs Access to Arduino Course Access to Pico with Arduino C/C++ Course Access to ESP32 with Arduino C/C++ Course Access to Pico with MicroPython Course Access to ESP32 with MicroPython Course Board Uno R3 Raspberry Pi Pico ESP32 Raspberry Pi Pico ESP32 Buch Programming Microcontrollers in C/C++ Using Arduino Programming Microcontrollers in C/C++ Using Arduino Programming Microcontrollers in C/C++ Using Arduino Programming Microcontrollers in MicroPython Programming Microcontrollers in MicroPython Kit 40-teiliges Komponenten-Set 40-teiliges Komponenten-Set 40-teiliges Komponenten-Set 40-teiliges Komponenten-Set 40-teiliges Komponenten-Set
€ 69,95
Mitglieder: € 62,96
-
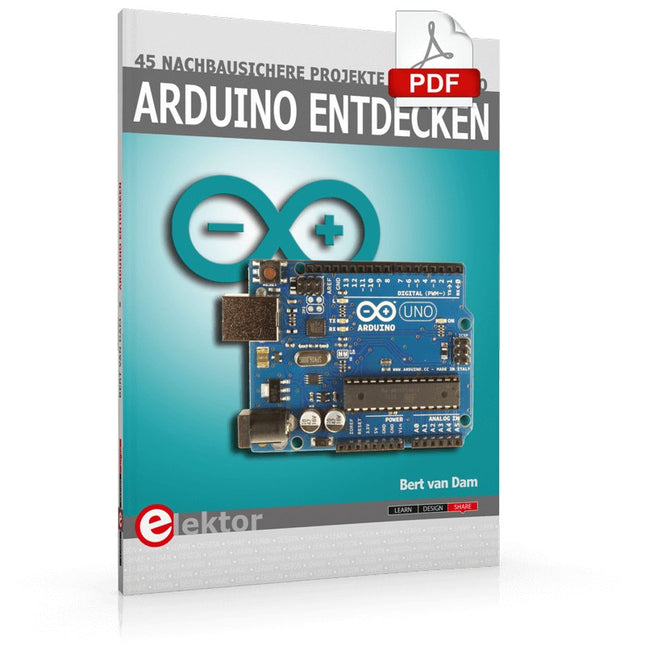
Elektor Digital Arduino entdecken (PDF)
Arduino entdecken (E-Book)
€ 32,80
Mitglieder: € 26,24
-
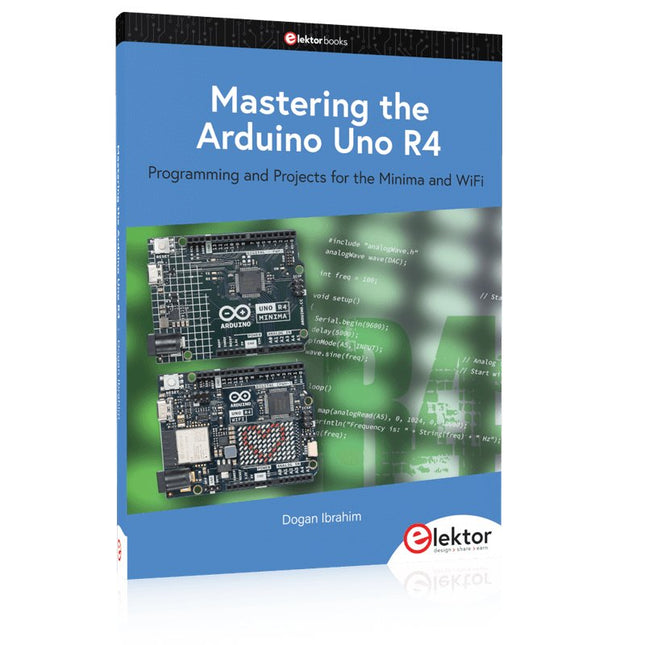
Elektor Publishing Mastering the Arduino Uno R4
Programming and Projects for the Minima and WiFi Based on the low-cost 8-bit ATmega328P processor, the Arduino Uno R3 board is likely to score as the most popular Arduino family member, and this workhorse has been with us for many years. Eleven years later, the long-overdue successor, the Arduino Uno R4, was released. It is built around a 48 MHz, 32-bit Arm Cortex-M4 microcontroller and provides significantly expanded SRAM and Flash memory. Additionally, a higher-precision ADC and a new DAC are added to the design. The Uno R4 board also supports the CAN Bus with an interface. Two versions of the board are available: Uno R4 Minima, and Uno R4 WiFi. This book is about using these new boards to develop many different and interesting projects with just a handful of parts and external modules. All projects described in the book have been fully tested on the Uno R4 Minima or the Uno R4 WiFi board, as appropriate. The project topics include the reading, control, and driving of many components and modules in the kit as well as on the relevant Uno R4 board, including LEDs 7-segment displays (using timer interrupts) LCDs Sensors RFID Reader 4x4 Keypad Real-time clock (RTC) Joystick 8×8 LED matrix Motors DAC (Digital-to-analog converter) LED matrix WiFi connectivity Serial UART CAN bus Infrared controller and receiver Simulators … all in creative and educational ways with the project operation and associated software explained in great detail.
€ 39,95
Mitglieder: € 35,96
-

Elektor Bundles Arduino UNO Q (Bundle)
Dieses Bundle enthält das Arduino UNO Q (2 GB) und das neue Buch "Arduino UNO Q and AI". Das Arduino UNO Q ist das erste UNO-Board mit einer hybriden Dual-Brain-Architektur, die einen leistungsstarken Linux-Prozessor mit einem Echtzeit-Mikrocontroller kombiniert – und so fortschrittliche Rechenleistung und präzise Steuerung auf einem Board vereint. Angetrieben von einer Qualcomm Dragonwing QRB2210 MPU mit Debian Linux und einer STM32U585-MCU für Echtzeitaufgaben ist das UNO Q für Anwendungen der nächsten Generation konzipiert. Von Edge-Computing und KI bis hin zu Robotik und Automatisierung bietet es hohe Leistung, ohne dabei an Benutzerfreundlichkeit einzubüßen. Schließen Sie einfach Ihre Peripheriegeräte an und legen Sie los – es ist keine zusätzliche Hardware erforderlich. Features Dual-Core-Architektur: Linux-MPU + Echtzeit-MCU Qualcomm Dragonwing QRB2210 mit Debian-Linux-Unterstützung STM32U585-Mikrocontroller für deterministische Steuerung Führt Arduino-Sketches über Zephyr OS aus Ideal für KI-, IoT-, Robotik- und Industrieprojekte Technische Daten Mikroprozessor (MPU) Qualcomm Dragonwing QRB2210:Quad-Core Arm Cortex-A53 @ 2,0 GHzAdreno GPU 3D-Grafikbeschleuniger2× ISP (13 MP + 13 MP oder 25 MP) @ 30 fps Mikrocontroller (MCU) STM32U585Arm Cortex-M33 bis zu 160 MHz2 MB Flash-Speicher786 KB SRAM RAM 2 GB LPDDR4 Stromversorgung Über USB-C-Anschluss: max. 5 V bei 3 AEingangsspannung (VIN): 7–24 V Speicher 16 GB eMMC USB 1× USB-C-Anschluss mit Host-/Geräterollenumschaltung, Stromrollenumschaltung und Videoausgang Konnektivität Wi-Fi 5 (2,4/5 GHz) mit integrierter AntenneBluetooth 5.1 mit integrierter Antenne Schnittstellen I²C/I³CSPIPWMCANUARTPSSIGPIOJTAGADC Video Videoausgabe über USB-CMIPI-DSI-Pins am JMEDIA-Header Extra 4× RGB-LEDs (vom Benutzer steuerbar)8× 13 blaue LED-Matrix1× Qwiic-Anschluss (3,3 V, I²C)1× BenutzertasteJCTL: MPU-Ferndebugging Anschluss Audio Mikrofon-Eingang / Kopfhörer-Ausgang / Line-Ausgang am JMISC MPU-Betriebssystem Linux Debian OS mit Upstream-Unterstützung Echtzeit-Betriebssystem Arduino Core auf Zephyr OS Containerisierung Docker- und Docker Compose-Unterstützung Unterstützte Betriebssysteme für Arduino App Lab Windows: Windows 10 oder höher (64-Bit)macOS: macOS 11 oder höher (64-Bit)Linux: Ubuntu 22.04 oder höher und Debian Trixie (64-Bit) Abmessungen 68,85 × 53,34 mm (UNO-Formfaktor) Downloads Datasheet User Manual Pinout Schematics Buch: Arduino UNO Q and AI – Learn to Build Intelligent Embedded Systems Entwickeln Sie intelligentere Embedded-Systeme mit dem Arduino UNO Q. Dieses Buch vermittelt Ihnen die Werkzeuge, das Wissen und das Vertrauen, um Ideen in intelligente, funktionierende Lösungen mit der Arduino UNO Q-Plattform umzusetzen. Entdecken Sie, wie Sie intelligente Embedded-Systeme mit dem Arduino UNO Q und KI realisieren können. Schöpfen Sie das volle Potenzial des Arduino UNO Q aus – einer Next-Generation-Plattform, die die Echtzeit-Leistung des STM32U585-Mikrocontrollers mit der Flexibilität eines Qualcomm Dragonwing QRB2210-Mikroprozessors kombiniert. Lernen Sie, wie Sie reale Anwendungen schnell prototypisieren können – mit der Arduino IDE für Low-Level-Embedded-Steuerung und Python im Arduino App Lab für High-Level-Entwicklung. Gewinnen Sie Sicherheit durch praxisnahe Projekte, die Sie Schritt für Schritt von den grundlegenden Funktionen bis hin zu vollständig funktionsfähigen Systemen führen. Entdecken Sie sofort einsatzbereite, KI-basierte Arduino App Lab-Beispiele und erfahren Sie, wie diese Ihre Entwicklung beschleunigen und die Time-to-Market verkürzen können. Steigen Sie in die Welt der Edge AI ein – mit einer klaren und praxisorientierten Einführung in das Edge Impulse Studio, ganz ohne Vorkenntnisse im Bereich KI. Folgen Sie einem vollständigen, praxisnahen Workflow zur Entwicklung einer Keyword-Spotting-KI-Anwendung – von der Datenerfassung über das Training und die Optimierung bis hin zur On-Device-Inferenz mit dem Edge Impulse Studio. Schließen Sie die Lücke zwischen Embedded-Systemen und Machine Learning und lernen Sie, wie Sie Intelligenz direkt auf Ihre Hardware bringen. Ideal für Embedded-Entwickler, Lehrkräfte, Studierende und Maker, die bei der KI-gestützten Produktentwicklung einen Schritt voraus sein möchten. Dieses Bundle enthält: Arduino UNO Q (2 GB) (Einzelpreis: 50 €) Buch: Arduino UNO Q and AI (Einzelpreis: 35 €)
€ 84,95€ 69,95
Bestpreis
-
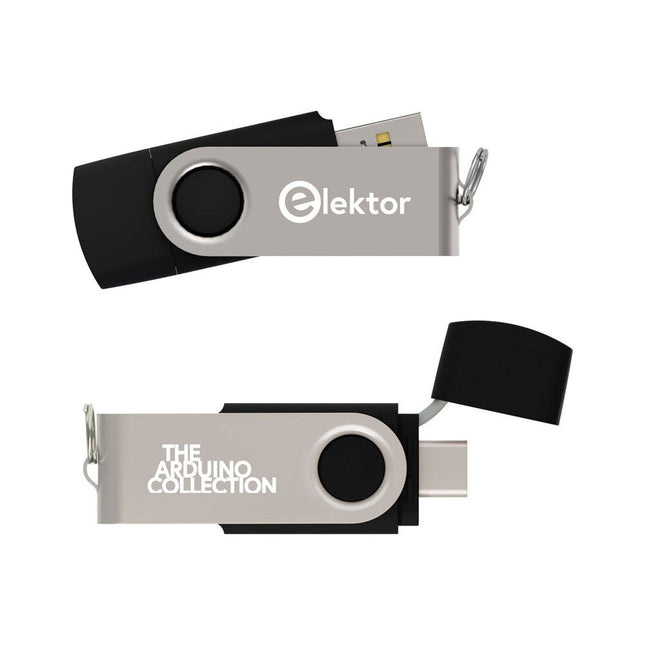
Elektor Classics The Elektor Arduino Collection (USB-Stick)
Dieser USB-Stick enthält eine Auswahl von über 300 Arduino-bezogenen Artikeln, die im Elektor-Magazin veröffentlicht wurden. Der Inhalt umfasst sowohl Hintergrundartikel als auch Projekte zu folgenden Themen: Software- und Hardware-Entwicklung: Tutorials zur Arduino-Softwareentwicklung mit der Arduino IDE, Atmel Studio, verschiedenen Shields und grundlegenden Programmierkonzepten. Lernen: Das Mikrocontroller-Bootcamp bietet einen strukturierten Einstieg in die Programmierung eingebetteter Systeme. Datenerfassung und -messung: Projekte wie ein 16-Bit-Datenlogger, ein Drehbank-Tachometer und ein AC-Netzanalyzer ermöglichen die Erfassung und Analyse von Echtzeitsignalen. Drahtlose Kommunikation: Erfahren Sie, wie man drahtlose Netzwerke implementiert, eine Android-Schnittstelle erstellt und effektiv mit Mikrocontrollern kommuniziert. Robotik und Automatisierung: Lernen Sie den Arduino Nano Robot Controller, unterstützende Automatisierungs-Boards sowie diverse Arduino-Shields zur Funktionserweiterung kennen. Selbstbauprojekte: Einzigartige DIY-Projekte wie Laserprojektion, eine Numitron-Uhr mit Thermometer, ein ELF-Empfänger, Theremino-Module und Touch-LED-Schnittstellen zeigen kreative Einsatzmöglichkeiten auf. Egal, ob Sie Einsteiger oder erfahrener Maker sind – diese Sammlung ist eine wertvolle Ressource zum Lernen, Experimentieren und Erweitern der Möglichkeiten mit Arduino.
€ 49,95€ 34,95
Bestpreis
-
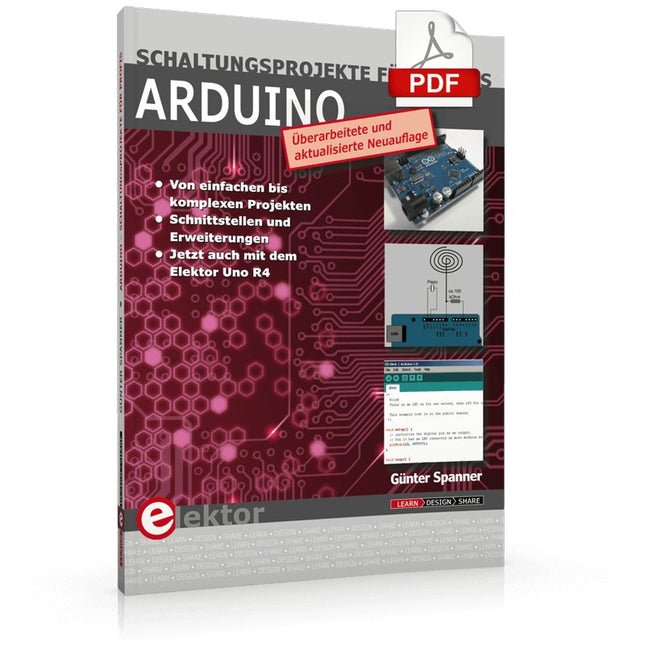
Elektor Digital Arduino – Schaltungsprojekte für Profis (PDF)
Mit Arduino – Schaltungsprojekte für Profis wird der Leser umfassend in die Hardware und Software der Arduino-Plattform eingeführt. Einfache, leicht verständliche Projekte am Anfang des Buches führen Schritt für Schritt in die Open-Source-Plattform ein. Die Projekte werden dann zunehmend komplexer, um dem Leser möglichst viele konkrete Lösungsmöglichkeiten aufzuzeigen, die mit dem Arduino-Mikrocontroller auch für angehende Profis zur Verfügung stehen. Dabei wird neben den erforderlichen theoretischen Grundlagen stets größter Wert auf eine praxisorientierte Ausrichtung gelegt. So werden wichtige Techniken wie AD-Wandlung, Timer oder Interrupts stets in Praxisprojekte eingebettet. Es entstehen Lauflichteffekte, ein Aufwachlicht, voll funktionsfähige Voltmeter, präzise Digitalthermometer, Uhren in allen Variationen, Reaktionszeitmesser oder mausgesteuerte Roboterarme. Und ganz nebenbei hat der Leser die Grundlagen der zugehörigen Controller-Technik verstanden und im wahrsten Sinne des Wortes begriffen.
€ 34,80
Mitglieder: € 27,84


